
How to Set Up a DIY Drip Irrigation System (Under $50)
Last updated: 2026-07-09
This post contains Amazon affiliate links. If you buy through them, we earn a small commission at no extra cost to you.
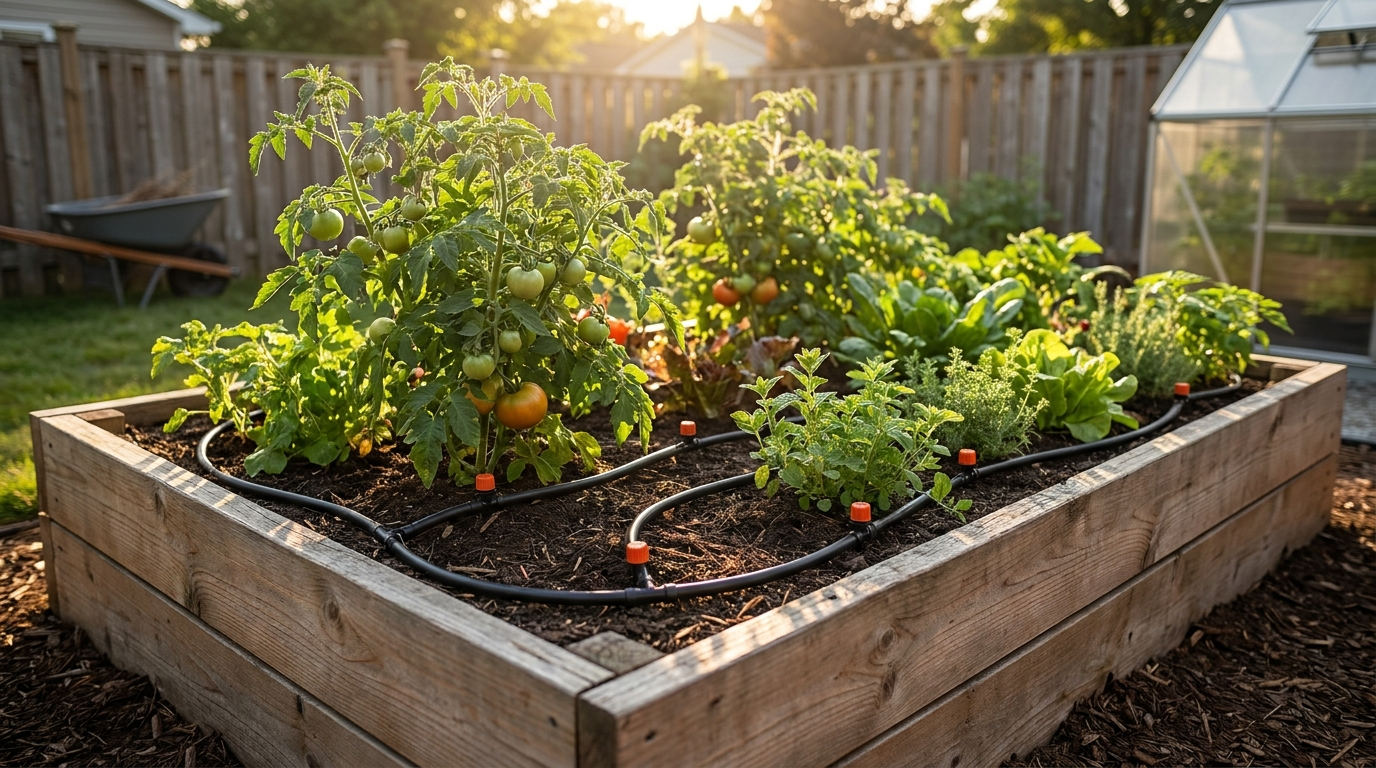
Your sprinkler runs for 30 minutes and half the water lands on your driveway. A drip irrigation system changes all of that. Instead of spraying water everywhere, it delivers water directly to the roots of every plant, slowly and steadily, exactly where it is needed.
Independent reports show drip irrigation cuts water use by 30 to 50 percent compared to sprinklers. Your plants grow better too, because roots stay consistently moist instead of swinging between soaked and dry.
Here is how to set up a simple system for your backyard garden in an afternoon.
What Is Drip Irrigation?
A drip irrigation system uses a network of tubes and small emitters to deliver water directly to the base of each plant. The mainline runs from your outdoor faucet, branches split to individual rows, and emitters drip at a controlled rate.
The water goes to the soil, not the air. No evaporation, no runoff, no wet foliage. Wet foliage is one of the leading causes of tomato disease, and drip systems eliminate it entirely.
Most home garden systems run off standard garden hose pressure. No plumbing license required.
What You Need
Here is everything for a complete single raised-bed system:
| Item | Purpose | Estimated Cost |
|---|---|---|
| Drip irrigation starter kit | Main tubing, emitters, fittings | $25 to $40 |
| Digital hose timer | Automate watering | $20 to $30 |
| Pressure regulator (if not included) | Protects emitters from high pressure | $5 to $10 |
| End cap / plug | Seals the mainline end | Included in most kits |
Total: $30 to $60 depending on kit and garden size.
Recommended Products
Rain Bird LNDDRIPKIT is the most complete starter kit available. It includes distribution tubing, 1/4" branch tubing, drip emitters, micro-bubblers, micro-sprays, stakes, and end caps, enough to cover 26 plants straight from the box. Rain Bird is the brand irrigation contractors specify on commercial installs. Analysis of thousands of Amazon reviews shows this kit consistently outperforms off-brand alternatives for leak-free performance.
CARPATHEN Drip Irrigation System with Hose Splitter is the top choice for raised beds. It uses a push-to-connect system with no barbed fittings and no tools required. The large kit includes a hose splitter so you can run two separate zones from a single faucet. Independent reports from raised-bed gardening communities rate it highly for ease of setup and durability.
Orbit 62061 Digital Hose Timer turns a manual drip system into a fully automated one. Set it once and your garden waters itself on schedule, even while you are traveling. It features a rain delay of 1 to 3 days so the system skips watering after rainfall. Battery powered, no wiring required.
Step-by-Step: How to Set Up Your Drip System
Step 1: Plan Your Layout
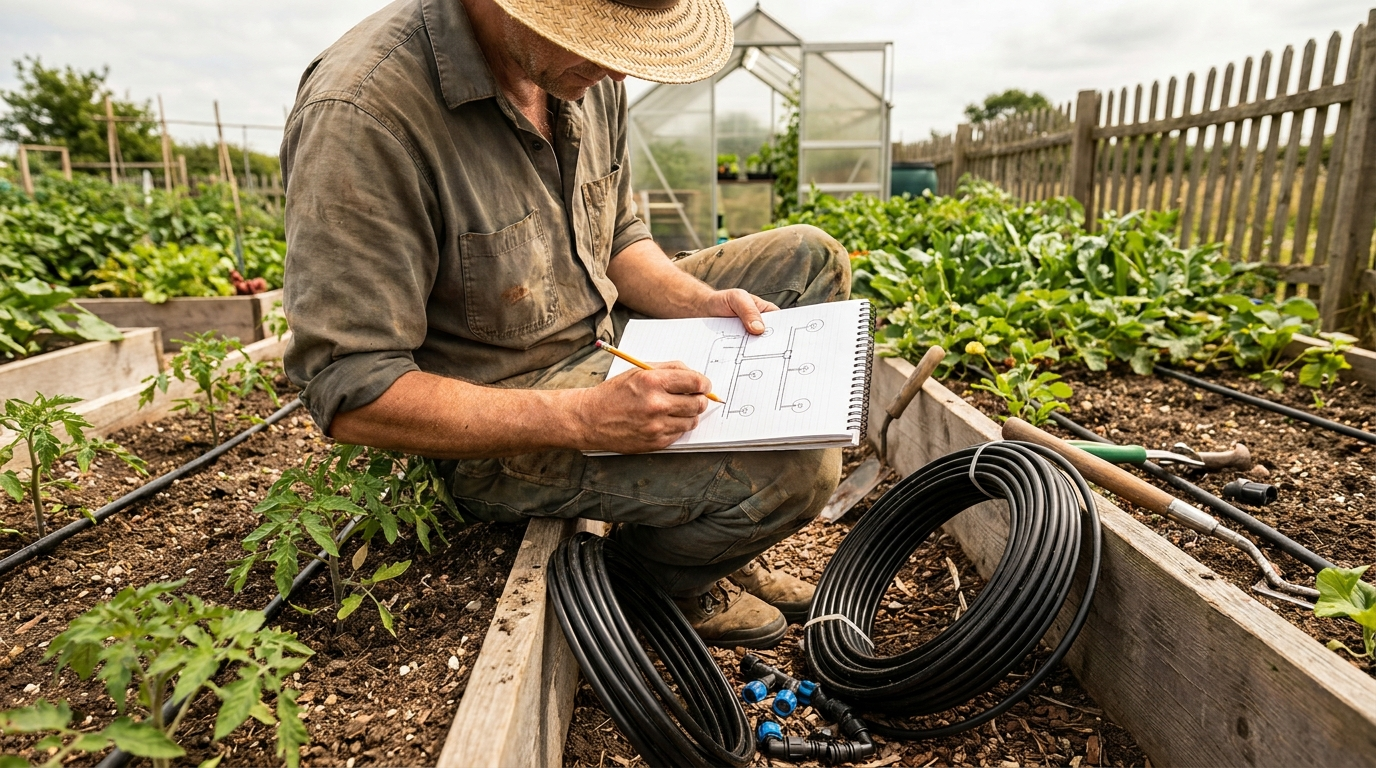
Walk your garden and count your plants. Drip irrigation works best when you map the layout before installing:
- Trace where the mainline (1/2" tubing) will run
- Mark each plant that needs an emitter
- Locate your outdoor faucet as the water source
Most kits cover a 50 to 100 sq ft garden bed. For larger areas, extra tubing is sold separately.
Step 2: Connect the Timer and Run the Mainline
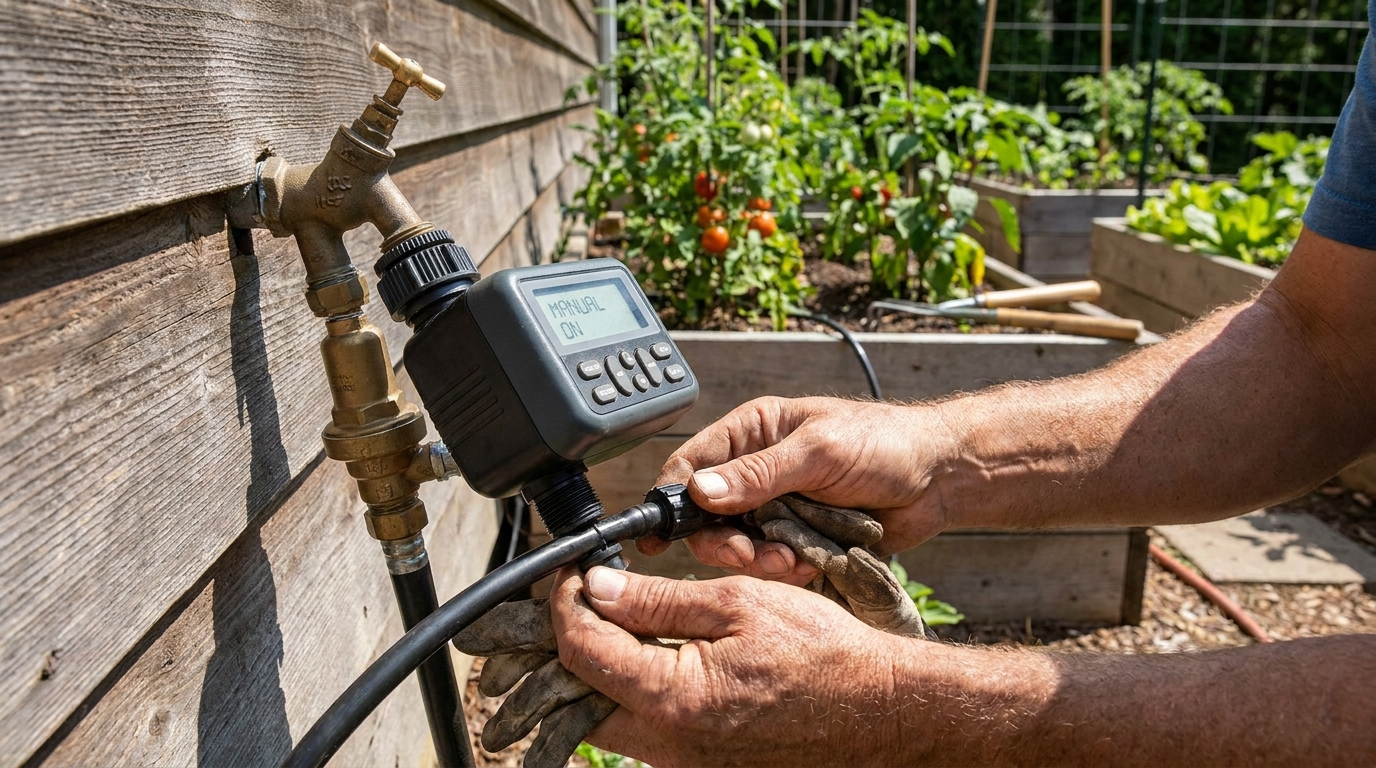
Attach the hose timer directly to your outdoor faucet. Connect the mainline tubing to the timer output. If your water pressure exceeds 30 PSI (most municipal supplies run 40 to 80 PSI), add a pressure regulator between the timer and the mainline. High pressure blows out emitters. Both Rain Bird and CARPATHEN kits include pressure regulators.
Run the mainline along the length of your garden bed. Secure it to the soil with the included ground stakes every 2 to 3 feet.
Step 3: Punch and Install the Emitters
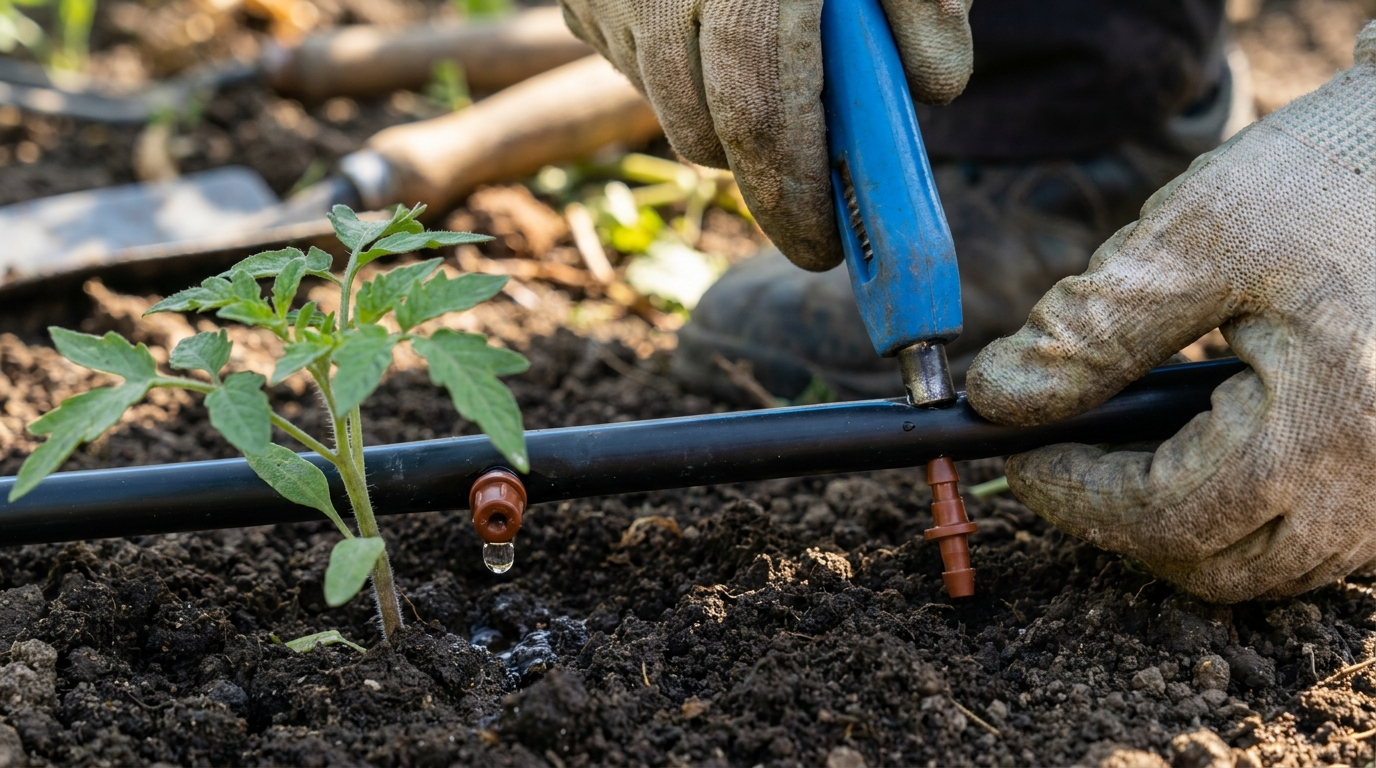
Use the punch tool included in your kit to make a hole in the mainline at each plant location. Push in a barbed connector, run a short length of 1/4" tubing to the plant base, and press an emitter onto the end.
Standard emitter flow rates:
- 1 gallon per hour: most vegetables, herbs, annuals
- 2 gallons per hour: large plants (tomatoes, squash, peppers)
- Micro-bubblers: for potted plants or tight spaces
Step 4: Cap the End and Test
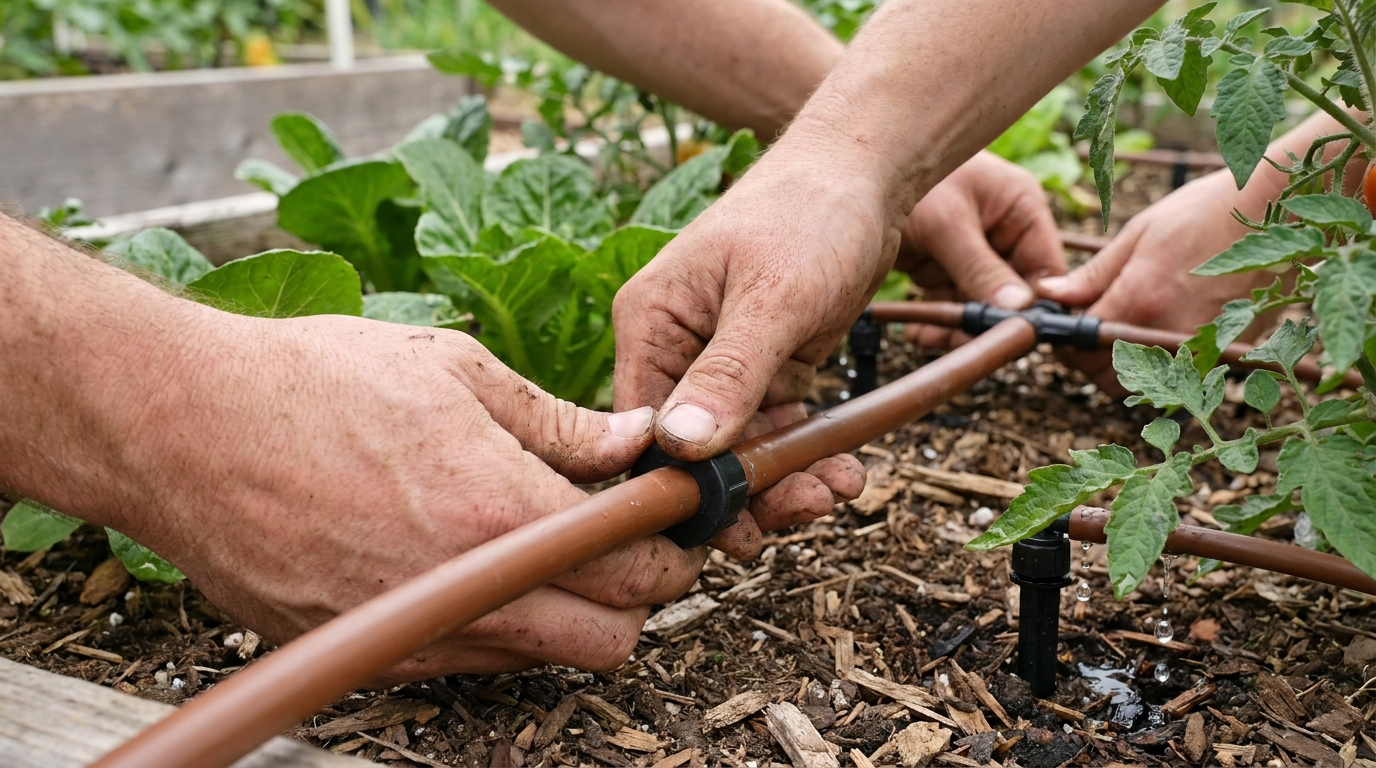
Press an end cap into the final open end of the mainline. Turn on the faucet and let the system run. Confirm water drips at every emitter, check for leaks at barbed connections, and verify consistent pressure across the full run.
If an emitter runs dry, remove it and check for debris in the barbed connector hole.
Step 5: Program the Timer
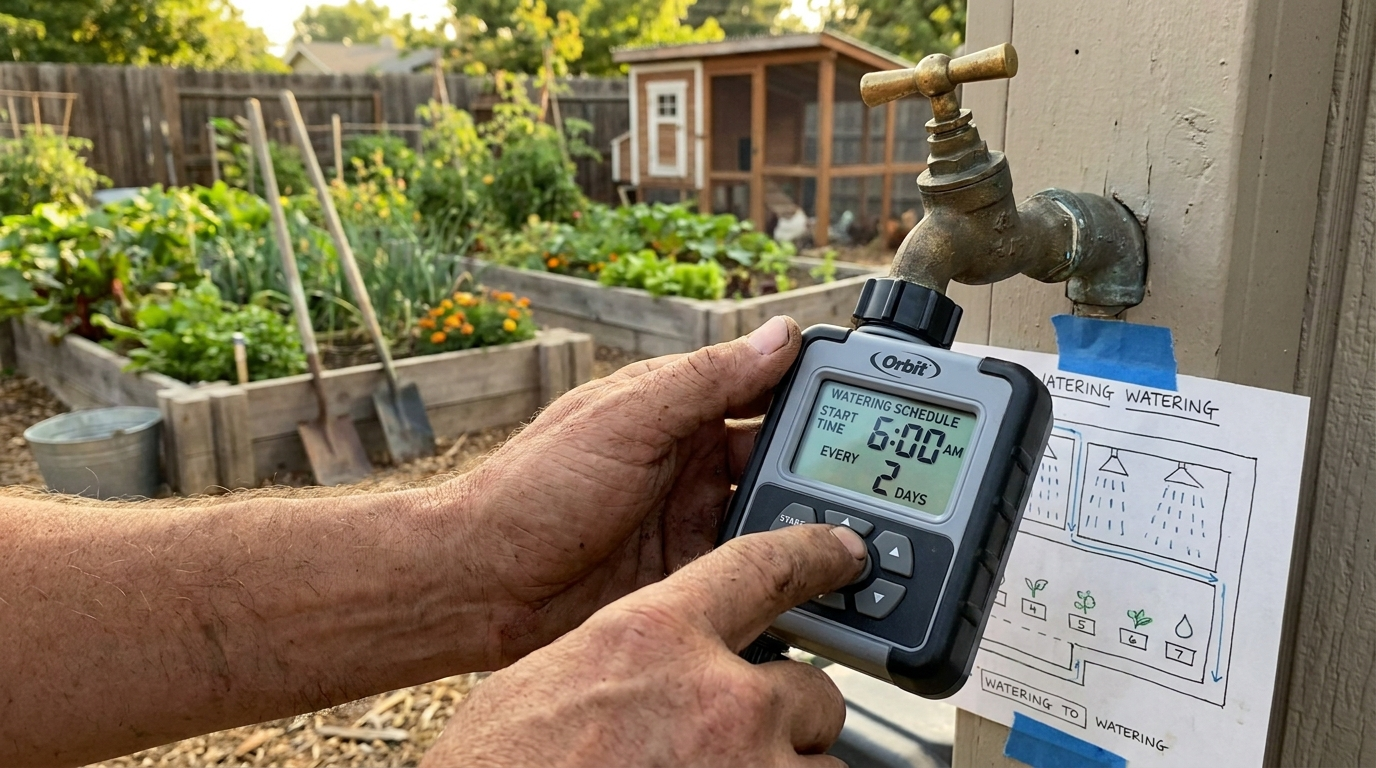
Set the Orbit timer to water once per day in the early morning. A 20 to 30 minute cycle covers most vegetable gardens in summer. Early morning watering lets the soil absorb water before midday heat and reduces evaporation loss.
Use the rain delay switch after storms. The 62061 model includes 1, 2, and 3-day delay options.
How Much Water Does This Actually Save?
Sprinklers typically run at 1 to 3 gallons per minute and lose 20 to 50 percent to evaporation and overspray. A drip system delivering to 20 plants at 1 gallon per hour uses roughly 0.3 gallons per minute during a 20-minute cycle.
Analysis of water utility studies shows drip irrigation users consistently reduce outdoor water consumption by 30 to 50 percent. Over a full growing season, that translates to thousands of gallons and a measurably lower water bill.
Seasonal Maintenance
Drip systems run themselves, but a few minutes of seasonal attention keeps them performing well:
- Monthly during season: check emitters for clogs and flush if needed (pull off and rinse under tap)
- End of season: drain and flush the mainline before storage
- Winter: store tubing indoors, as freeze-thaw cycles degrade plastic over time
- Every 3 to 5 years: replace emitters when flow rate drops noticeably
Why This Is Worth Building
Garden watering is the one chore that breaks momentum on a homestead. Travel for a week, come back to dead tomatoes, spend the rest of the season catching up.
A drip system removes the dependency. Independent reports from homesteading communities show gardeners who install drip irrigation consistently harvest more produce per season than those relying on manual watering. The reason is simple: consistent root moisture prevents the stress cycles that slow plant growth.
The installation takes one afternoon. After that, the system runs itself.
Get the Free Checklist
Ready to Start?
Two fastest paths to a working automated system:
- Quickest overall: Rain Bird LNDDRIPKIT plus Orbit 62061 Timer — a complete automated setup for under $60.
- Best for raised beds: CARPATHEN Drip System with Hose Splitter — push-to-connect simplicity, two zones from one faucet.
Your garden will thank you. Your water bill will too.
As an Amazon Associate, Backyard Freedom Lab earns from qualifying purchases. This costs you nothing extra and helps us keep producing free content.