
How to Store Emergency Water at Home (DIY + On a Budget)
Disclosure: This post contains affiliate links. If you click and purchase, we may earn a small commission at no extra cost to you. We analyzed independent reports and expert recommendations — we do not personally test every product.
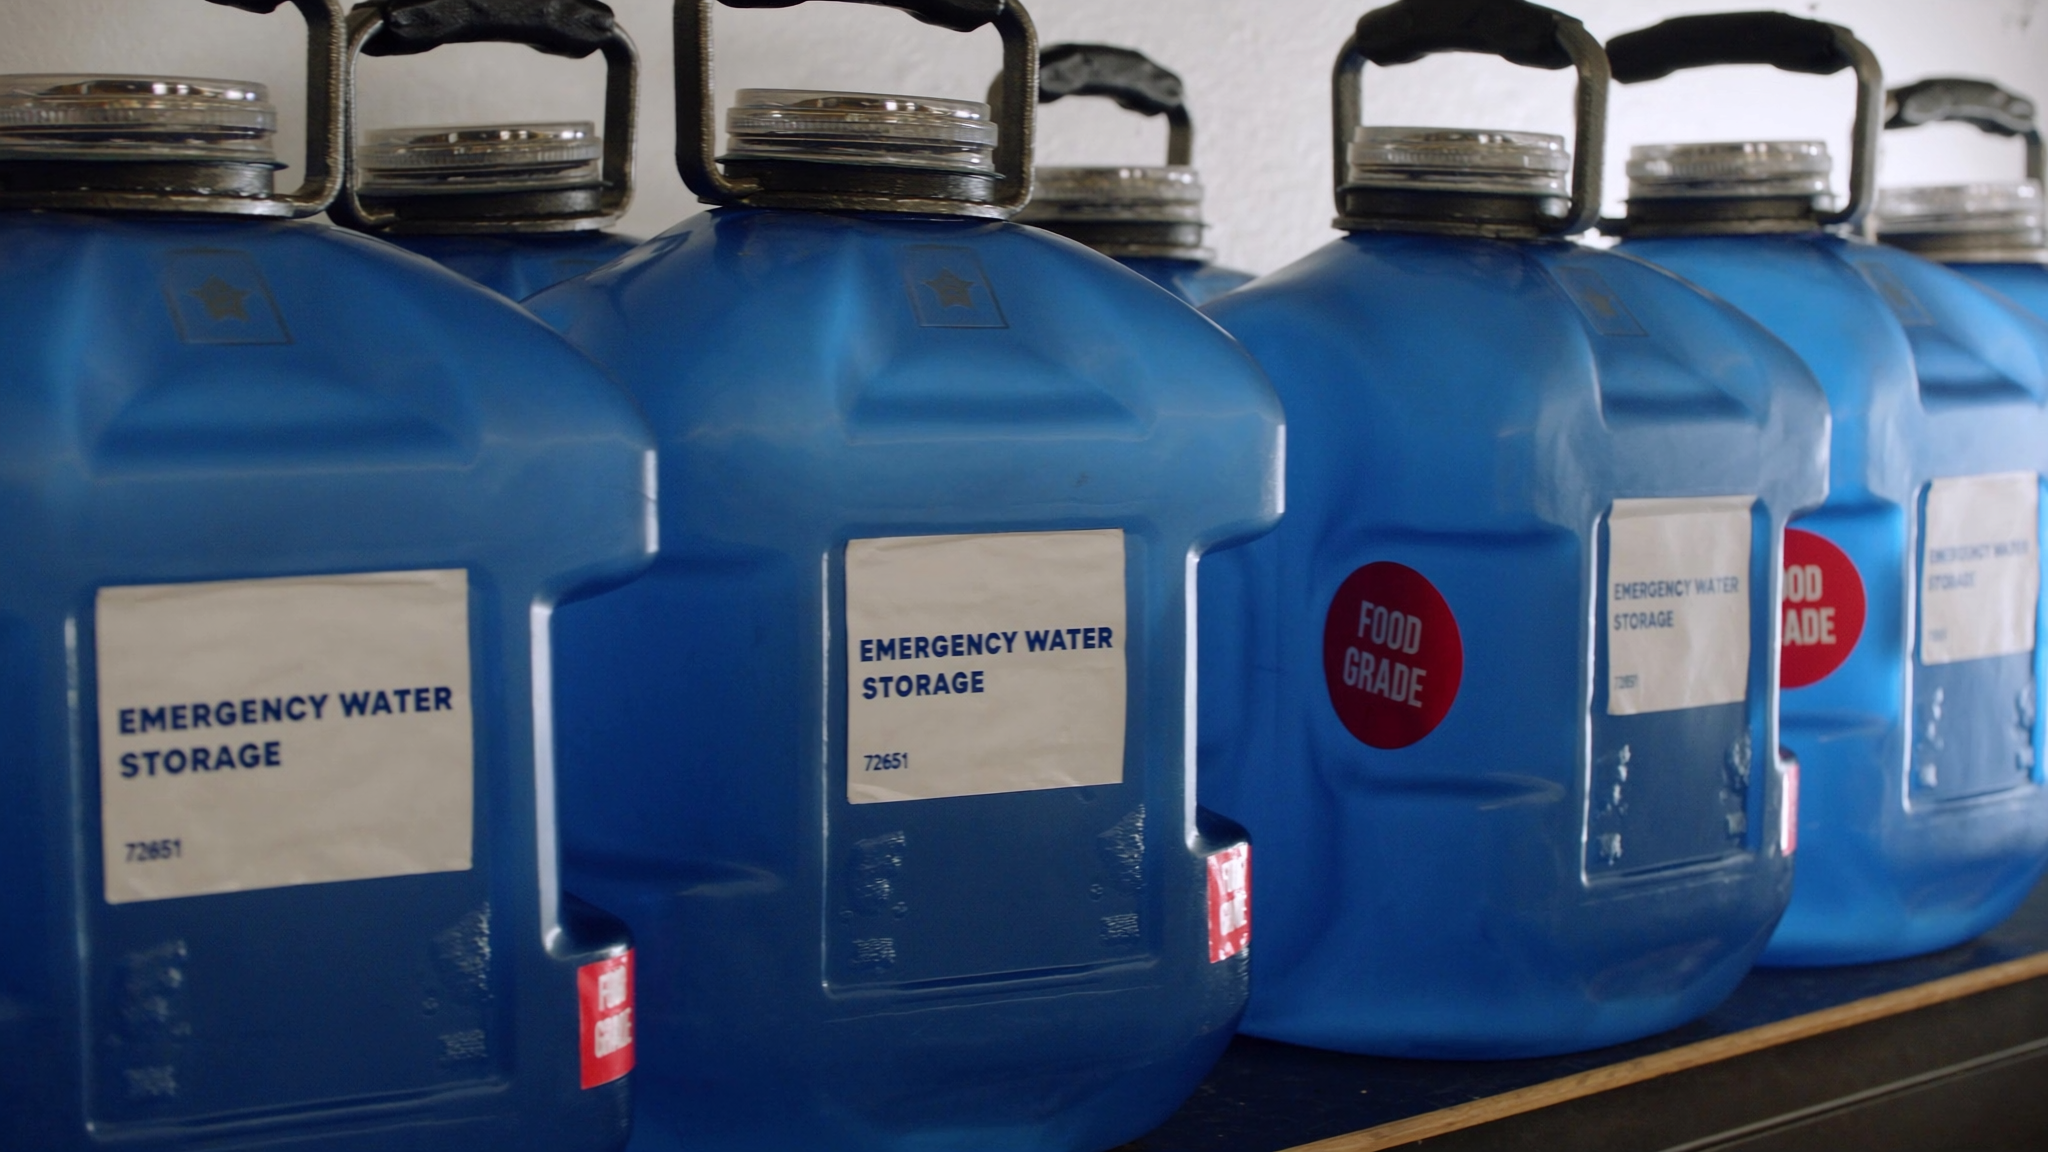
Most households are one bad storm, broken main, or extended power outage away from running out of safe drinking water within 24 hours. FEMA recommends storing at least one gallon of water per person per day for a minimum of three days — but emergency management experts widely suggest two weeks as a more realistic target for serious preparedness. That is a lot of water, and if you have never thought about how to store emergency water at home, the task can feel overwhelming.
The good news is that building a reliable home water supply does not require expensive gear or a dedicated survival bunker. Independent reports from organizations like the American Red Cross and the CDC show that with a few food-grade containers, basic sanitization steps, and a simple rotation schedule, any household can maintain a safe, long-term water supply on a tight budget.
This guide walks you through every step of the process — from calculating how much water your household actually needs to choosing the right containers, treating stored water, and keeping your supply fresh year after year. Whether you are starting from zero or trying to improve a system that is already in place, the information here is practical, actionable, and backed by established emergency preparedness standards.
Water security is one of the highest-return investments in home preparedness. Everything else — food, warmth, communication — depends on it. Let us build the system right.
What You'll Need
- Permanent marker and waterproof labels
- Measuring cup or kitchen scale
- Unscented liquid chlorine bleach (5–9% sodium hypochlorite, no additives)
- Clean funnel
- 5-gallon food-grade water containers — the most cost-effective stackable option for most households
- Water purification tablets for emergency use — a reliable backup for treating tap or natural water sources
- WaterBOB bathtub water storage bladder — can hold up to 100 gallons using your existing bathtub before an emergency
- Manual hand pump for water barrels — essential for drawing water from larger storage barrels without tipping them
Step-by-Step Guide
Step 1: Calculate How Much Water You Need
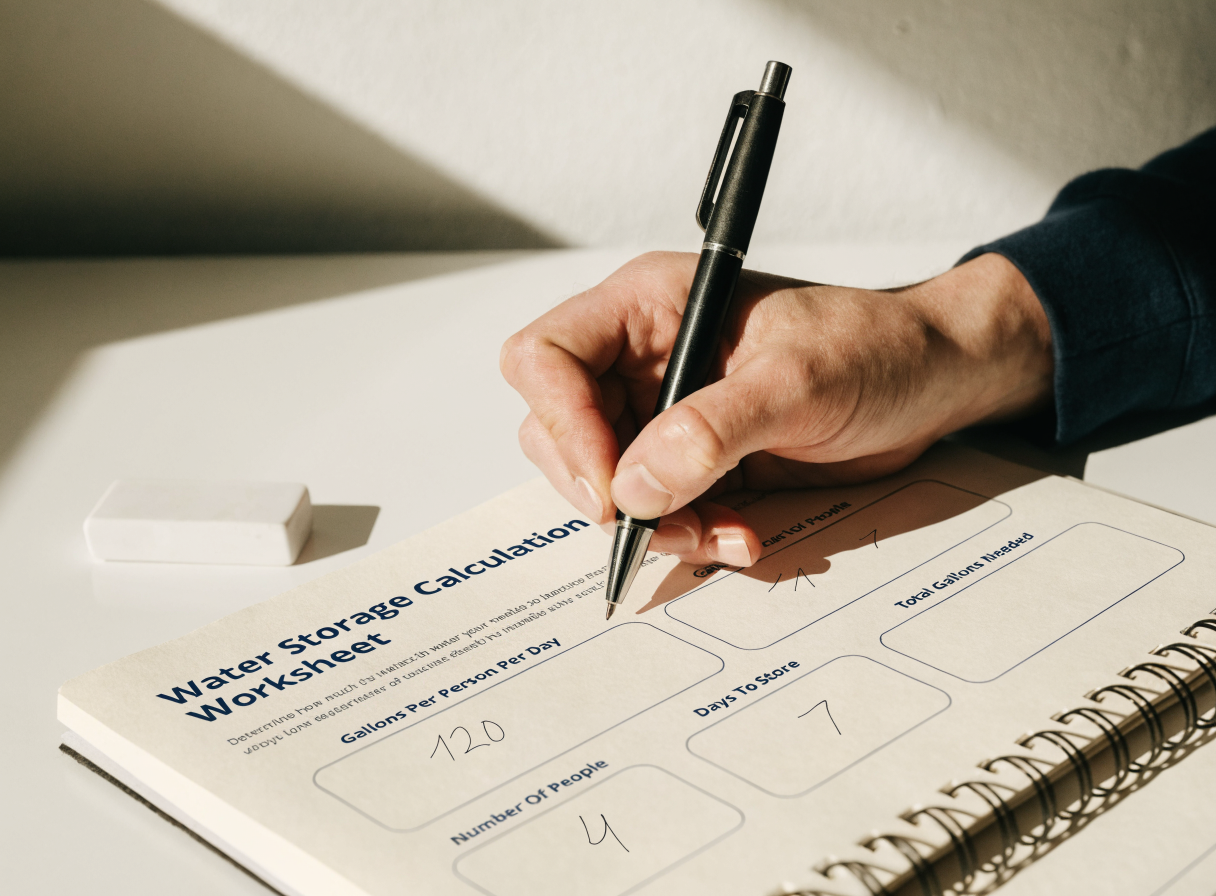
Start with the baseline: one gallon per person per day. That number covers drinking and basic sanitation. If anyone in your household is pregnant, nursing, elderly, or managing a health condition, experts recommend doubling that figure to two gallons per day for those individuals. Do not forget pets — dogs and cats need roughly one ounce of water per pound of body weight daily.
For a family of four targeting a two-week supply, the math works out to a minimum of 56 gallons (4 people × 1 gallon × 14 days). That is a meaningful volume, but it is achievable in stages. Many preparedness guides recommend starting with a three-day supply and expanding from there as budget and storage space allow.
Write your target number down and keep it visible as you work through the remaining steps. Having a concrete goal prevents both under-preparation and the kind of excessive stockpiling that becomes difficult to manage and rotate properly.
Step 2: Choose the Right Food-Grade Containers
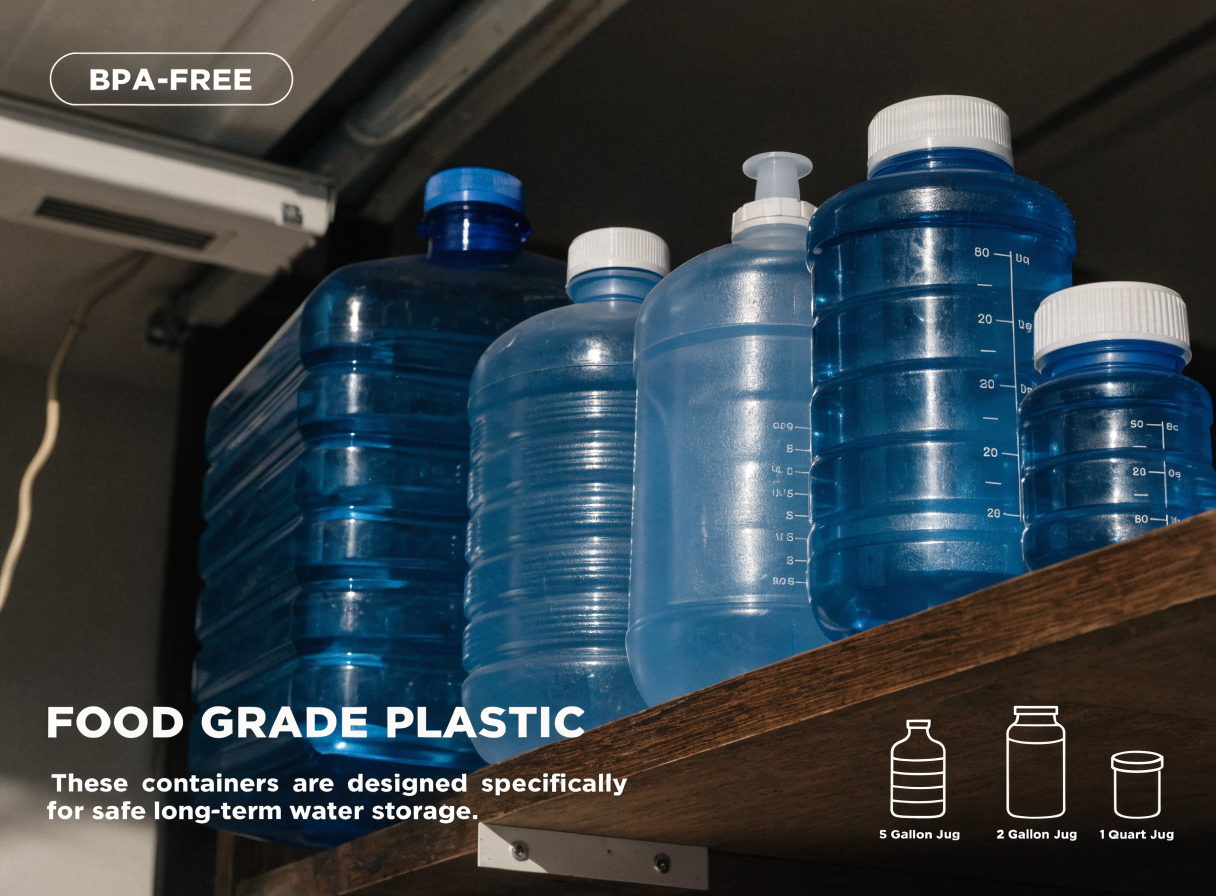
Not all containers are safe for long-term water storage. Independent safety reports consistently flag several materials as problematic: milk jugs (they degrade and develop cracks), containers previously used for non-food substances, and any plastic not marked as food-grade. The CDC specifically advises against reusing containers that held juice, soda, or other beverages unless they are commercially designed for water storage.
Food-grade containers are typically made from HDPE (high-density polyethylene), marked with recycling symbol #2. Blue is the standard color for water storage because it limits light penetration and algae growth. The 5-gallon food-grade containers that preparedness experts most commonly recommend are easy to stack, manageable to carry when full (about 41 pounds), and simple to sanitize between rotation cycles.
For households with limited storage space, a WaterBOB bathtub storage bladder is an effective space-saving tool. It stores flat until needed and can be filled in a standard tub in approximately 20 minutes when a hurricane or water outage is imminent — a practical solution for urban apartments or small homes.
Step 3: Sanitize Before Filling
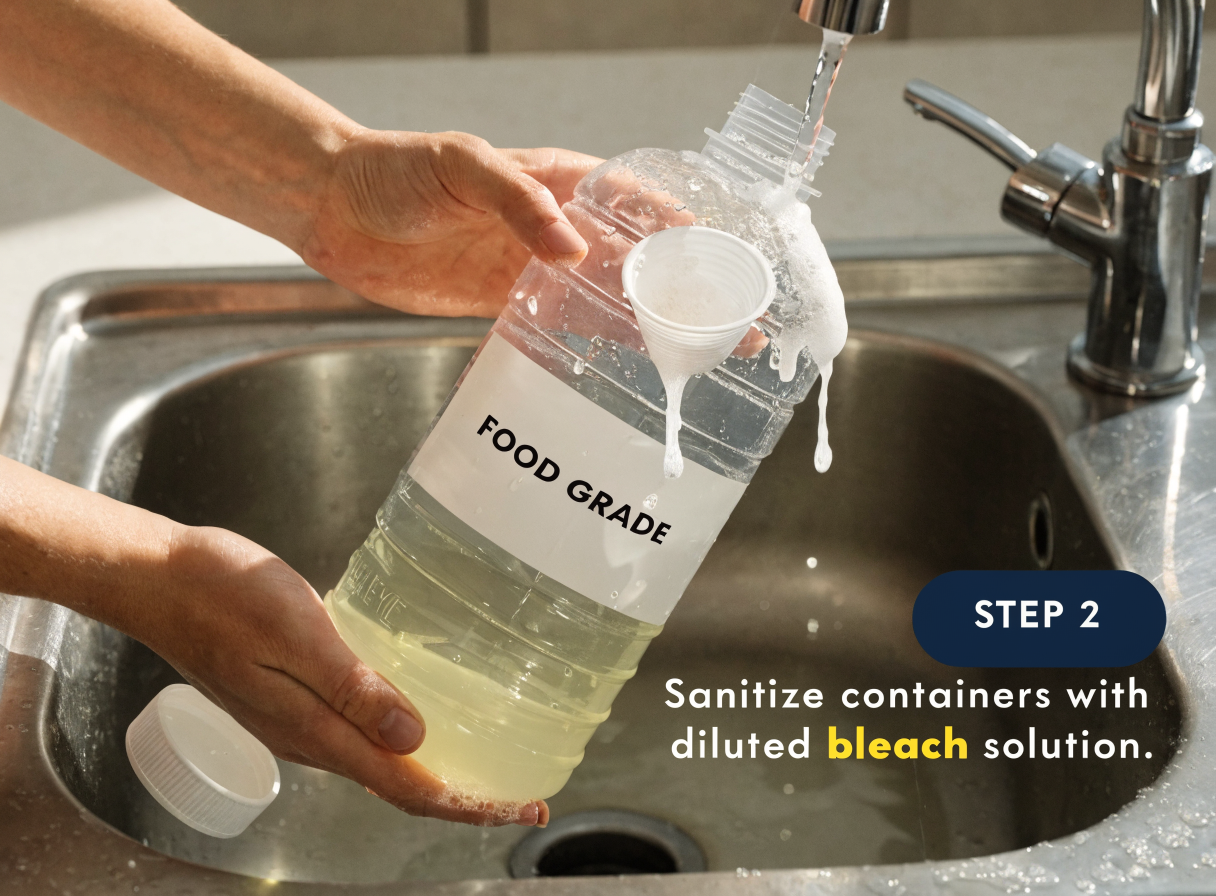
Even brand-new containers benefit from a sanitization rinse before first use. The Red Cross recommends a solution of one teaspoon of unscented liquid chlorine bleach per quart of water. Pour the solution into the container, seal it, shake it so the bleach contacts every interior surface, let it sit for 30 seconds, then pour it out. Rinse thoroughly with clean water.
Used containers require more attention. Any container that previously held water should be washed with dish soap and warm water first, rinsed completely, and then sanitized with the bleach solution above. Do not skip the soap step — bleach alone is less effective when organic residue is present.
Allow containers to air-dry in a clean environment before filling. Do not dry the interior with a cloth or towel, as this can reintroduce bacteria. Fill directly from a cold tap — hot water from the tank can carry higher sediment and microbial loads that affect shelf life.
Step 4: Treat Stored Water Properly
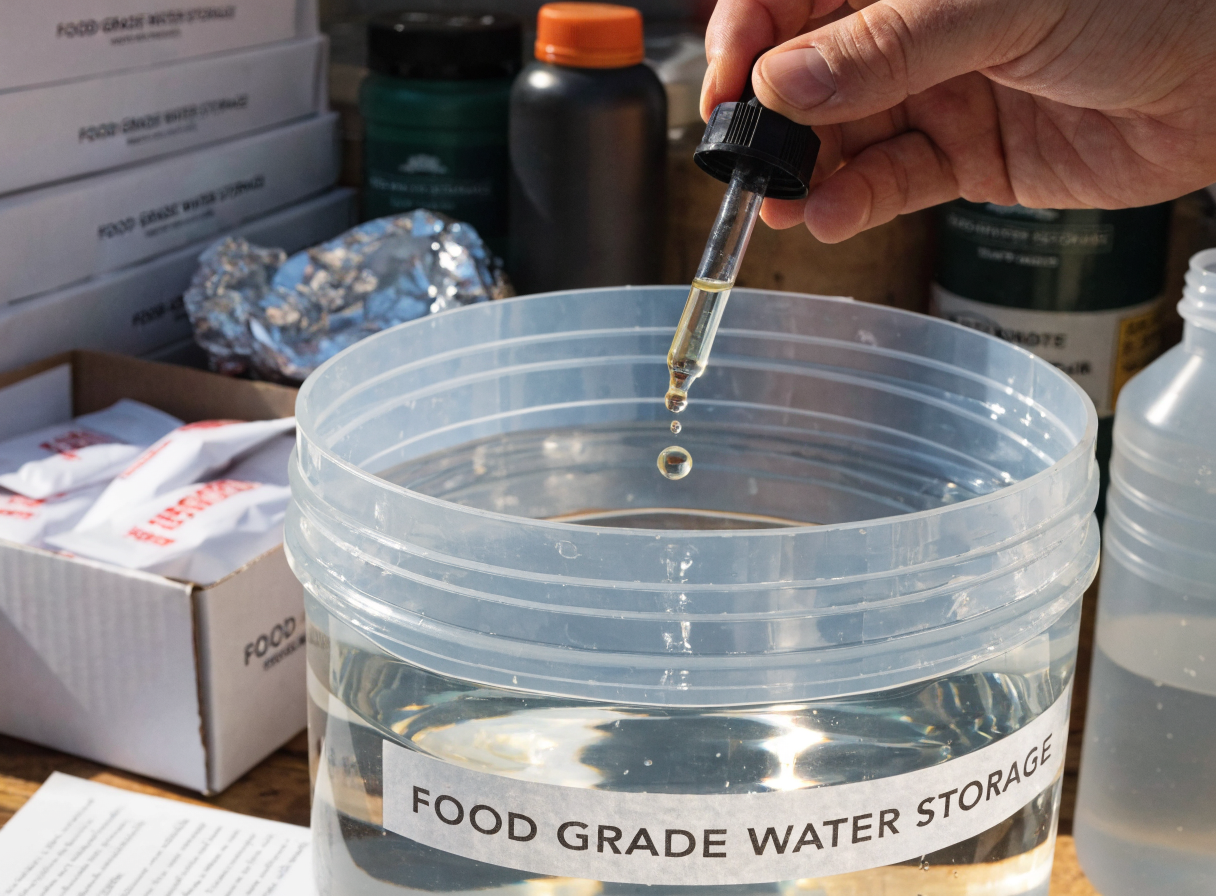
If you are filling containers directly from a treated municipal water supply, no additional treatment is required at the time of filling — the water already contains chlorine. Simply fill, seal tightly, label with the date, and store. Municipal tap water stored this way in sealed food-grade containers is considered safe by the CDC for up to six months.
If your source water is from a well or any untreated source, treatment is necessary before storage. The standard guidance is to add eight drops (approximately one-eighth of a teaspoon) of unscented 6% sodium hypochlorite bleach per gallon of clear water, or 16 drops per gallon for cloudy water. Let the water stand for 30 minutes before sealing.
Water purification tablets are a practical alternative for treating water in the field or when bleach is unavailable. Independent laboratory assessments show they are effective against bacteria, viruses, and most common protozoa. Keep a supply alongside your stored containers as a backup treatment option.
Step 5: Label and Organize Your Storage
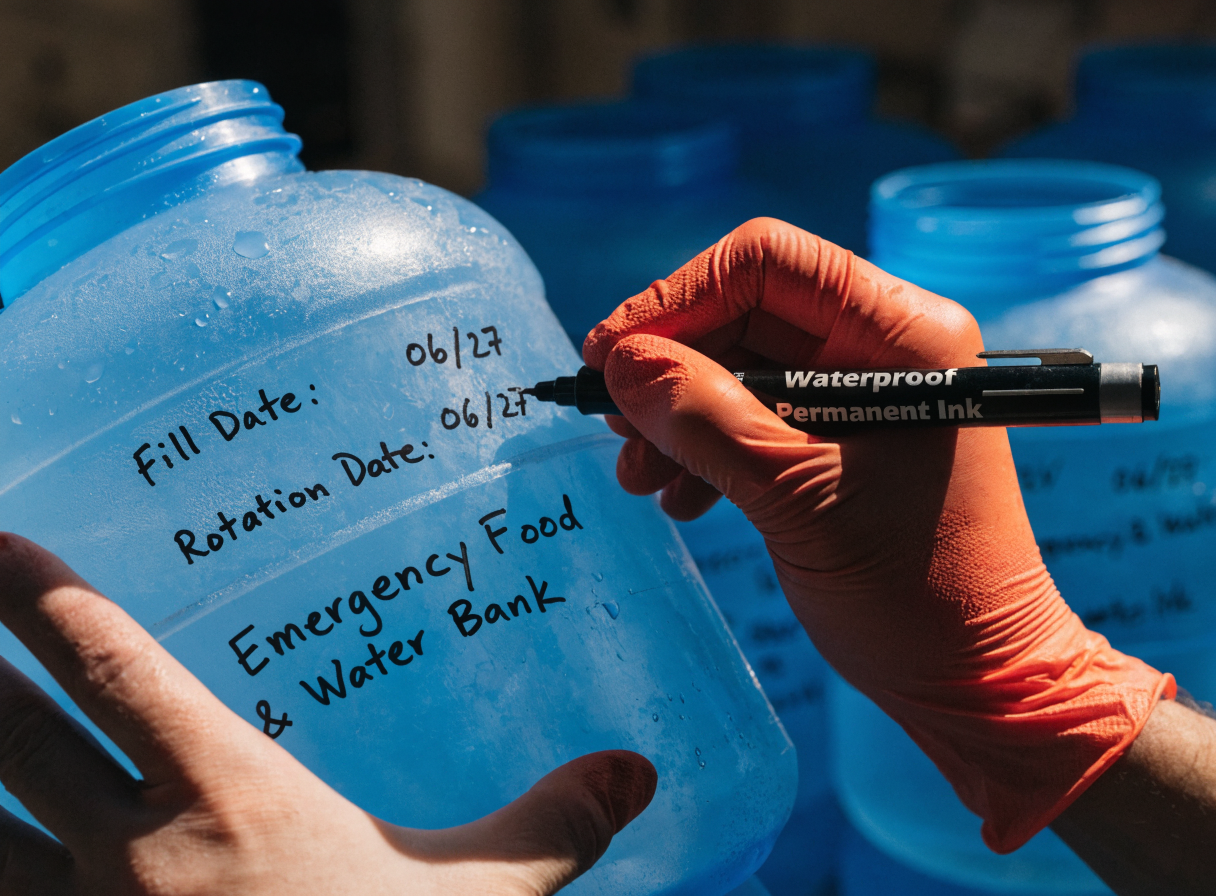
Every container should be labeled with at minimum two pieces of information: the date it was filled and the rotation date (typically six months later). Use a permanent marker directly on the container, or apply a waterproof adhesive label. A label that wears off is as good as no label at all.
Organize your storage using the FIFO method — First In, First Out. Newer containers go to the back; older containers come forward. This makes it almost impossible to accidentally skip a rotation cycle because the oldest water is always the most accessible.
Store containers in a cool, dark location away from direct sunlight and away from gasoline, pesticides, or household chemicals. Concrete floors in basements are acceptable, but experts note that placing containers on a wooden shelf or pallet improves air circulation and reduces condensation.
Step 6: Set Up a Rotation Schedule
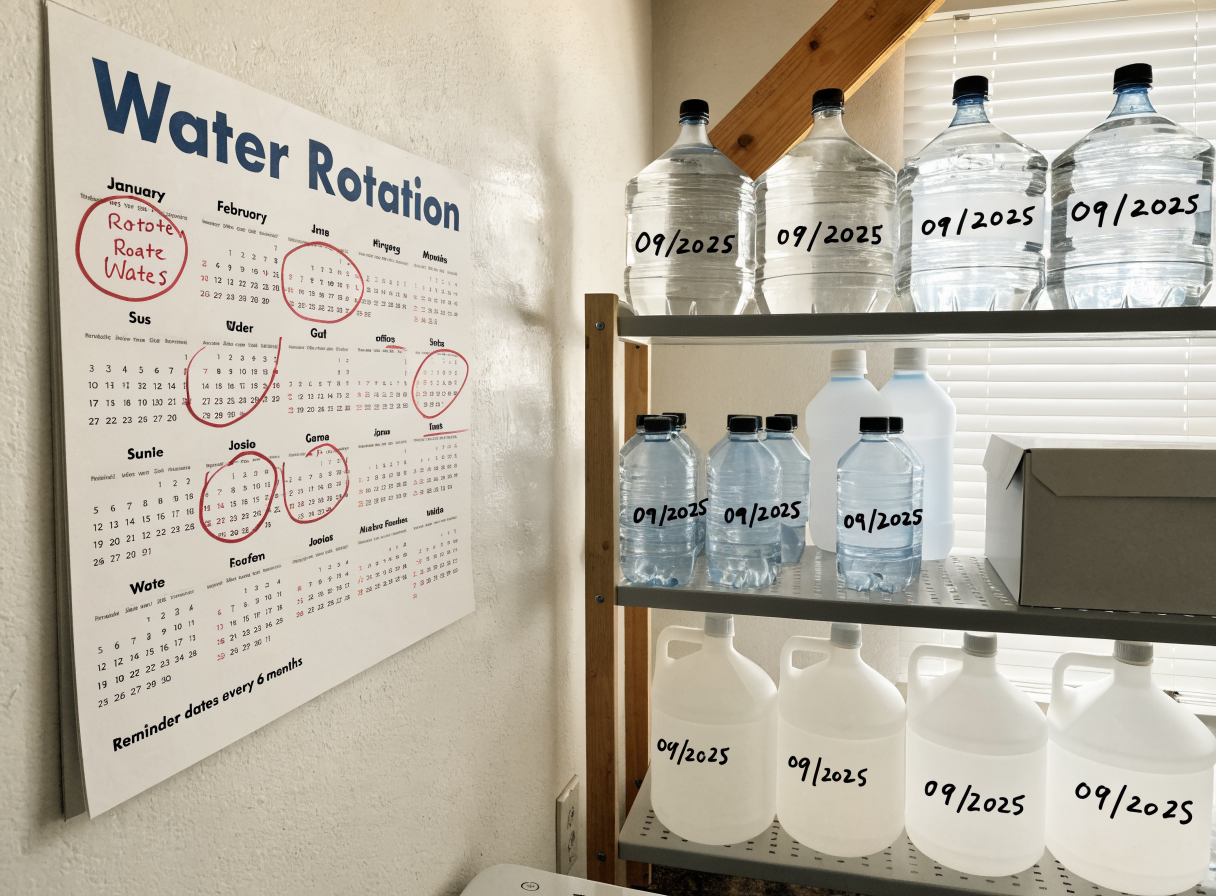
Rotation is the single most neglected part of home water storage. Independent preparedness audits consistently find that households with stored water often have supplies that are years past their recommended replacement date. Setting a recurring calendar reminder — every six months on a fixed date — eliminates the guesswork.
Rotation does not necessarily mean discarding the water. Rotated water is perfectly usable for watering plants, cleaning, or other non-drinking tasks. Fill the old containers with fresh water from the tap, re-treat if needed, relabel, and move them back into storage.
If you are storing water in larger barrels (55-gallon food-grade drums are a popular option for serious preppers), a manual hand pump makes rotation practical — you will not need to tip or roll a 460-pound barrel to access the water inside.
Pro Tips
- Store water in multiple locations. A flood, fire, or structural issue could make one storage area inaccessible. Splitting your supply between a basement, garage, and a closet on an upper floor improves resilience.
- Keep a small supply in your vehicle. Experts recommend at least one gallon per occupant in your car's emergency kit, rotated on the same schedule as your home supply.
- Learn to identify compromised water. Sealed containers that show signs of leakage, cloudiness, unusual odor, or visible growth should be discarded without tasting. When in doubt, treat before drinking.
- Gravity filters extend your options. A ceramic gravity filter (separate from stored water) allows you to treat rainwater, creek water, or pool water in an extended emergency — a meaningful backup layer.
- Document your system. Write down your container count, fill dates, and rotation schedule in a shared household document or a printed card taped inside a cabinet. If someone else needs to manage the supply in your absence, the information should be immediately findable.
Why This Is Worth It
The cost of building a two-week water supply for a family of four — containers, labels, and treatment supplies — typically runs between $60 and $120 depending on what you source locally versus online. Spread over the years of use you will get from a well-maintained system, the per-day cost is negligible. By comparison, the average American household spends considerably more on bottled water annually without gaining any meaningful preparedness benefit.
Beyond the financial calculation, water storage is a direct expression of household self-reliance. It removes dependency on a single point of failure — the municipal supply — and creates a buffer that allows calm, rational decision-making during an emergency rather than immediate crisis response. Independent disaster response research consistently shows that households with basic preparedness measures in place recover faster and experience significantly less stress during disruptive events.
Frequently Asked Questions
How long can you store tap water in food-grade containers? The CDC and Red Cross recommend replacing stored tap water every six months if kept in sealed, food-grade containers in a cool, dark environment. The water does not necessarily become unsafe after that point, but chlorine levels decline over time, reducing its protection against bacterial growth.
Can you store water in 2-liter soda bottles? Yes — the American Red Cross specifically lists clean, food-grade plastic 2-liter soda bottles as acceptable containers. Avoid milk jugs, cartons, or containers not rated for food storage, as these degrade and are difficult to sanitize thoroughly.
How do you know if stored water is still safe to drink? If stored water looks clear, has no unusual odor, and was properly treated and sealed in an undamaged food-grade container, it is generally safe. If there is any cloudiness, off-smell, visible growth, or the seal was compromised, treat it with purification tablets before drinking or discard it.
Final Thoughts
Building a home water storage system is one of the most practical preparedness steps any household can take — and it requires far less time, money, and space than most people assume. Start with a three-day supply, use the steps above to do it correctly from day one, and expand toward a two-week supply as budget allows. If you found this guide useful, explore the rest of the Backyard Freedom Lab blog for more DIY preparedness projects — or drop a question in the comments below.