
Build a Solar-Powered Automatic Chicken Feeder (Weekend Project)
Disclosure: This post contains affiliate links. If you click and purchase, we may earn a small commission at no extra cost to you. We analyzed independent reports and expert recommendations — we do not personally test every product.
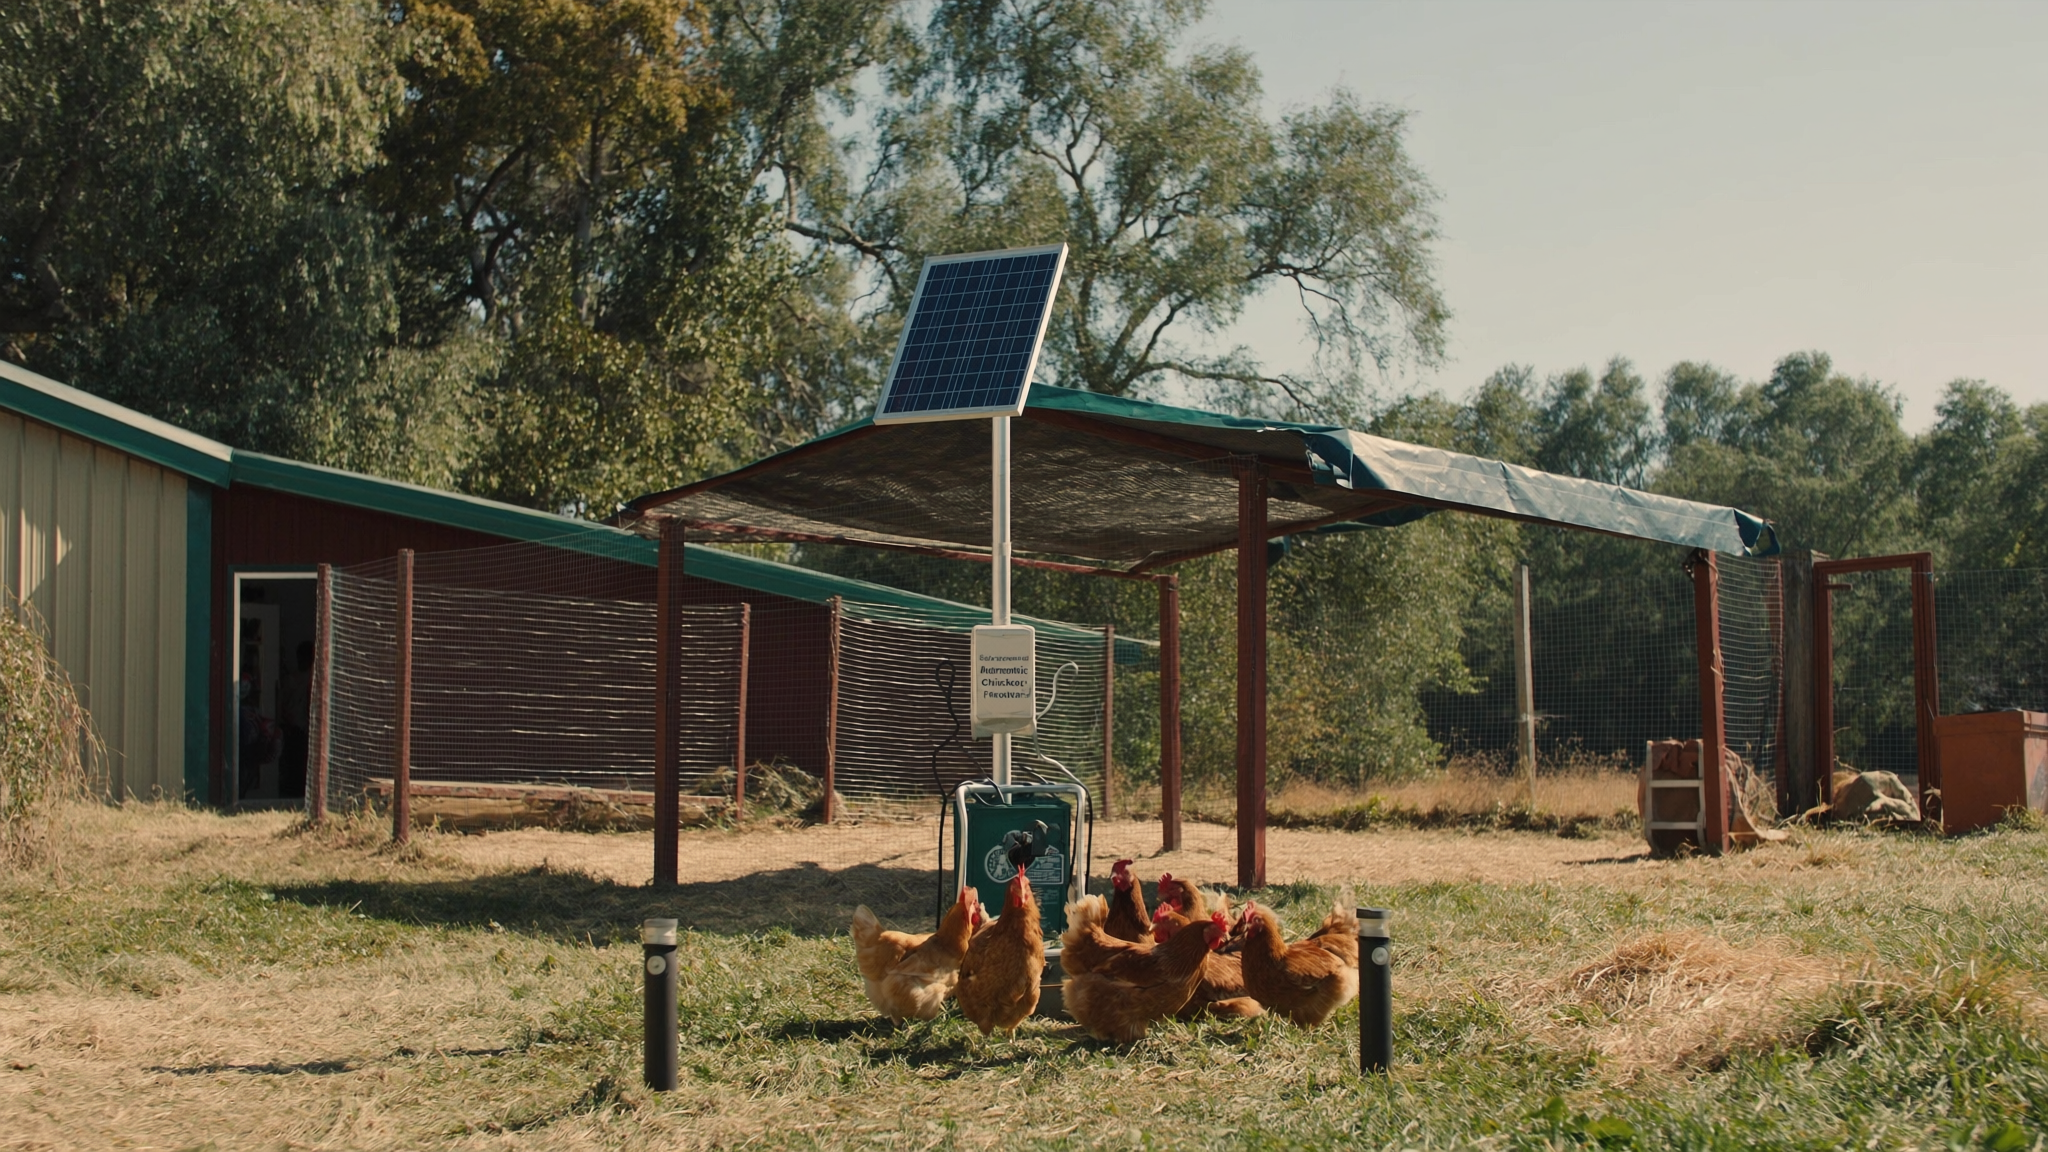
Keeping backyard chickens is one of the most rewarding homesteading decisions you can make — until the morning routine turns into a daily chore you cannot skip. Miss a feeding and the flock gets stressed, production drops, and you hear about it. A solar-powered automatic chicken feeder solves all of that by dispensing measured portions on a set schedule, day after day, with zero grid power required.
Independent reports from backyard farming communities consistently show that automating feed delivery reduces waste by 30–40% compared to open-trough feeding. Chickens learn the schedule quickly and stop scratching feed onto the ground while waiting. That alone covers a significant portion of the project cost over a single season.
The build we outline here uses widely available components: a small solar panel, a 12V rechargeable battery, a programmable timer module, and either an off-the-shelf auger feeder or a treadle-style container you modify yourself. Experts at university extension programs recommend low-voltage DC systems for coop automation precisely because they eliminate shock risk and work reliably through summer heat and winter cold alike.
This is a genuine weekend project. With basic tools and a Saturday morning, you will have a working prototype by afternoon. A Sunday of calibration and weatherproofing turns that prototype into a dependable system your flock will use for years.
What You'll Need
Components (sourced online):
- An automatic chicken feeder with timer — look for models with an adjustable auger motor and at least two feed times per day
- A small 10W solar panel kit — 10W is sufficient for a 12V timer motor running two short cycles daily
- A rechargeable 12V battery — a 7Ah sealed lead-acid or LiFePO4 cell stores enough for 3–4 cloudy days of reserve
- A waterproof project box — IP65 rated or better to house the charge controller and wiring safely outdoors
Tools and supplies from your workshop:
- Wire strippers and crimping tool
- 18-gauge and 22-gauge outdoor-rated wire
- Inline blade fuse (5A) and fuse holder
- Zip ties and UV-resistant cable clips
- Drill with 1/4-inch and 1/2-inch bits
- Silicone sealant (clear, exterior-rated)
- Small solar charge controller (PWM, 5A or 10A — often included in solar kit)
- Optional: digital multimeter for checking voltage at each stage
Step-by-Step Guide
Step 1: Gather your materials and tools
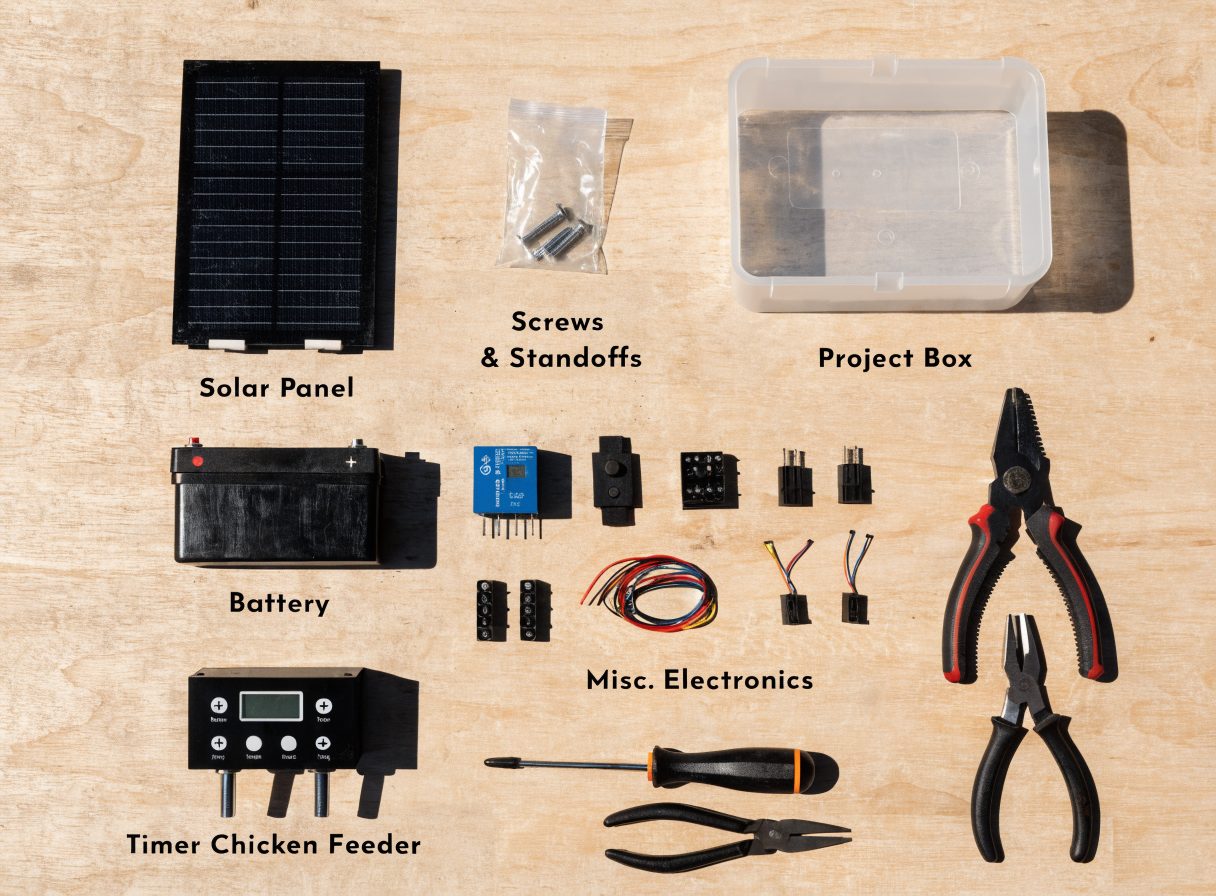
Before you touch a single wire, lay every component out on a clean surface and cross-reference it against the list above. Independent guides from homesteading forums flag this step as the one most often skipped — and the one that causes the most mid-project delays.
Check that your feeder's motor voltage matches your battery voltage. Most commercial automatic feeders run on 6V or 12V DC. If yours uses AA batteries internally, that is typically 6V; you will need a small step-down voltage regulator between the 12V battery and the feeder. Many 12V-rated feeders can connect directly. Confirm with the product documentation before wiring anything.
Charge your 12V battery fully using a standard wall charger before the build. This gives you a reliable reference voltage (12.6–12.8V when full) and ensures your first solar-powered cycle is not starting from a depleted state.
Step 2: Set up the solar panel and battery
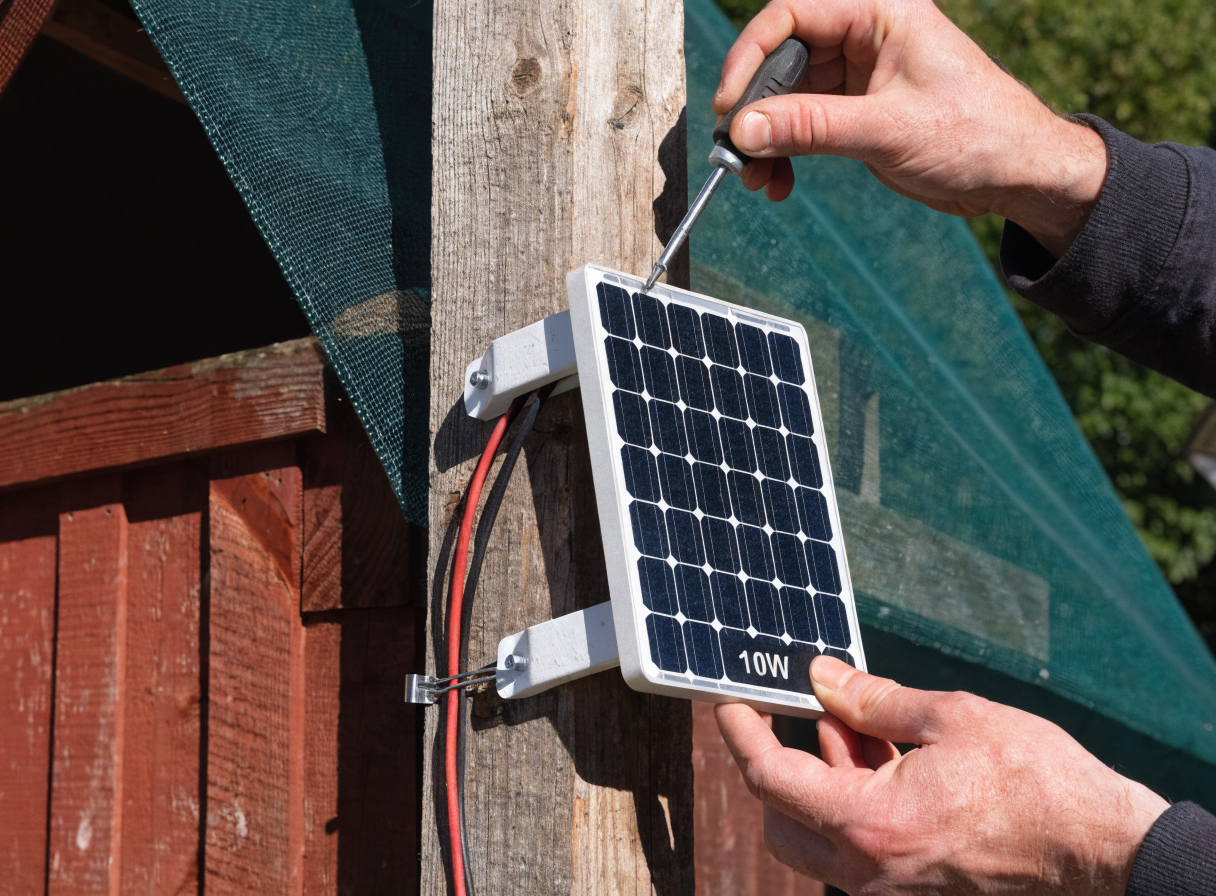
Mount the solar panel on the south-facing roof of your coop or on a nearby post at a 30–45 degree tilt, depending on your latitude. Extension agricultural resources recommend this angle range as the best year-round compromise for solar collection in most of North America.
Run the panel's output leads through a grommet hole into your waterproof project box. Connect them to the solar input terminals on your charge controller — typically labeled PV+ and PV−. Then connect the battery to the BAT terminals, observing polarity carefully. Most PWM controllers have an LED indicator that confirms a good connection; red or orange usually means charging, green means full.
Mount the project box in a shaded spot on the coop exterior — direct sun will overheat the electronics. Use stainless screws into the siding and seal any penetrations with silicone. The battery can live inside the project box if it fits, or in a ventilated compartment inside the coop away from the chickens.
Step 3: Build or modify the feeder container
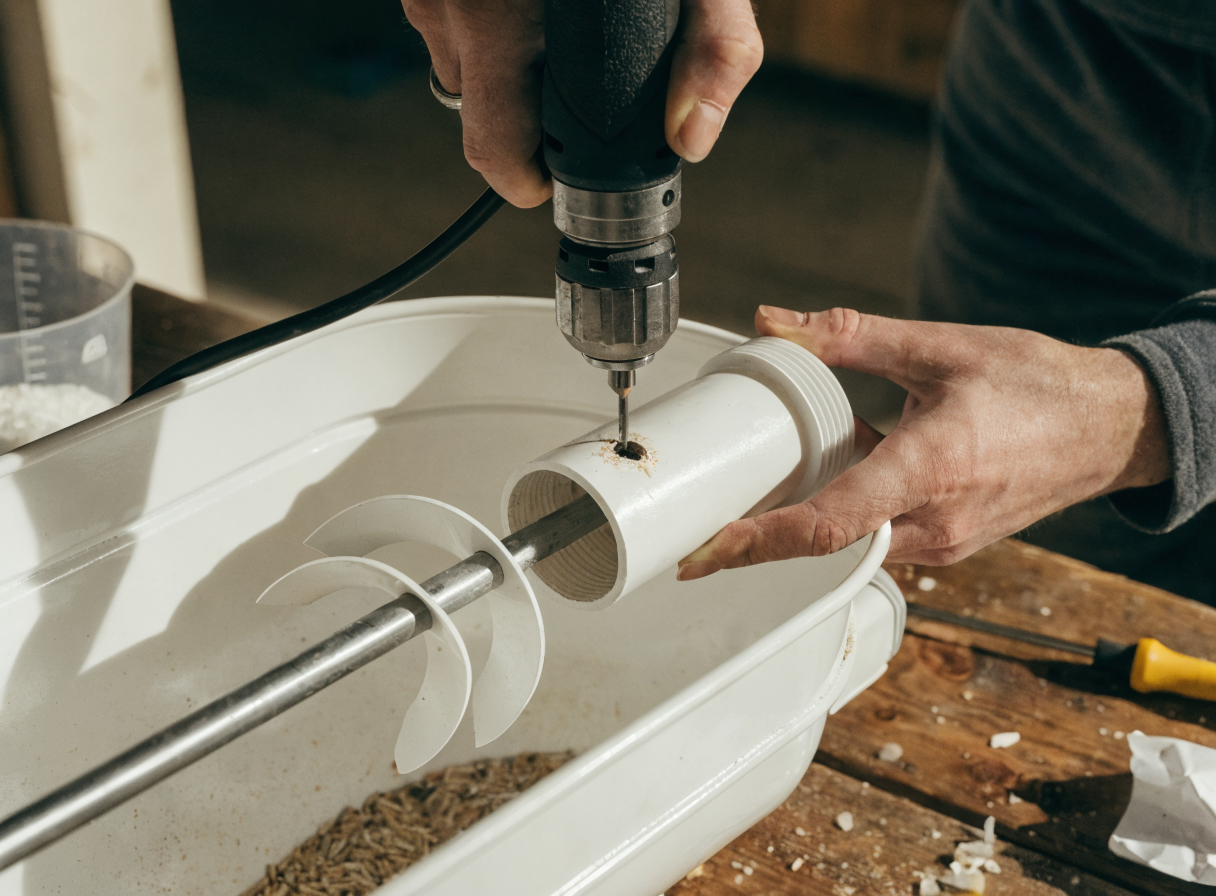
If you purchased a complete automatic feeder unit, this step involves mounting it securely. Attach it to a post or the coop wall at a height that lets feed fall cleanly into a tray without the chickens reaching up into the dispenser opening — about 18 inches off the ground for standard breeds works well according to poultry management guides.
For a DIY container build, a 4-inch PVC pipe with end caps makes an excellent grain reservoir. Drill a 1.5-inch hole near the bottom end cap and fit a short coupler for the auger motor shaft to pass through. The motor mounts to the outside of the cap with two bolts, and feed gravity-feeds down onto the spinning auger which throws it into a tray below.
Seal the top cap with a foam gasket to keep moisture and vermin out. Fill capacity for a 24-inch section of 4-inch pipe is roughly 3–4 pounds of layer pellets — enough for a small flock of 4–6 hens for two to three days.
Step 4: Install the auger or timer mechanism
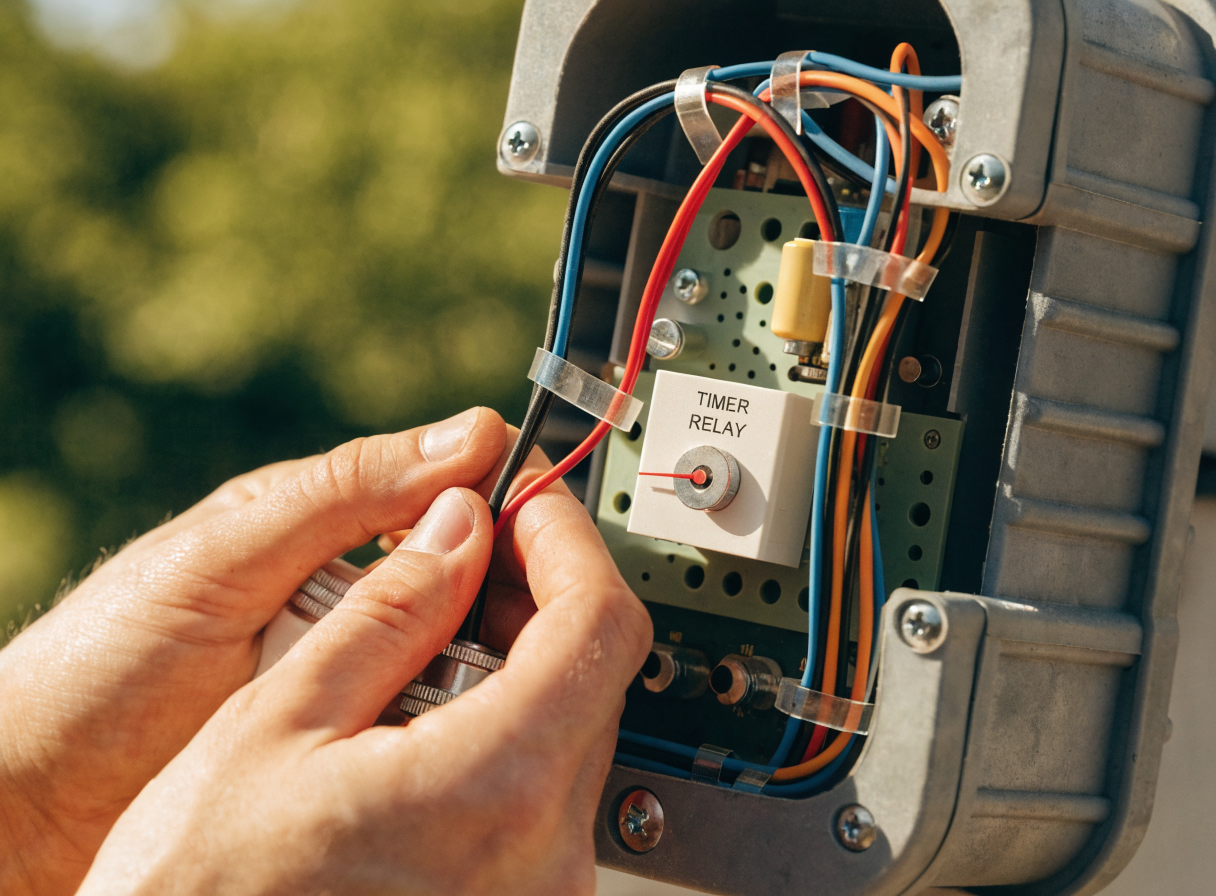
The timer is the brain of your solar-powered automatic chicken feeder. Most standalone auger feeders include an integrated timer; if yours does, follow the manufacturer's programming instructions to set two daily cycles — typically early morning (6–7 AM) and late afternoon (4–5 PM). These windows align with natural chicken feeding behavior documented in poultry science literature.
If you are building with a separate timer relay module, wire it between the charge controller's load output terminals and the feeder motor. Set the ON duration for 5–10 seconds per cycle to start — this delivers roughly 2–4 ounces of feed per activation depending on your auger size, which you will calibrate in Step 6.
Make all wire connections inside the project box using crimp connectors or terminal blocks — never rely on twist-and-tape joints outdoors. A 5A inline fuse on the positive lead from the battery to the timer protects everything downstream from shorts.
Step 5: Wire everything together safely
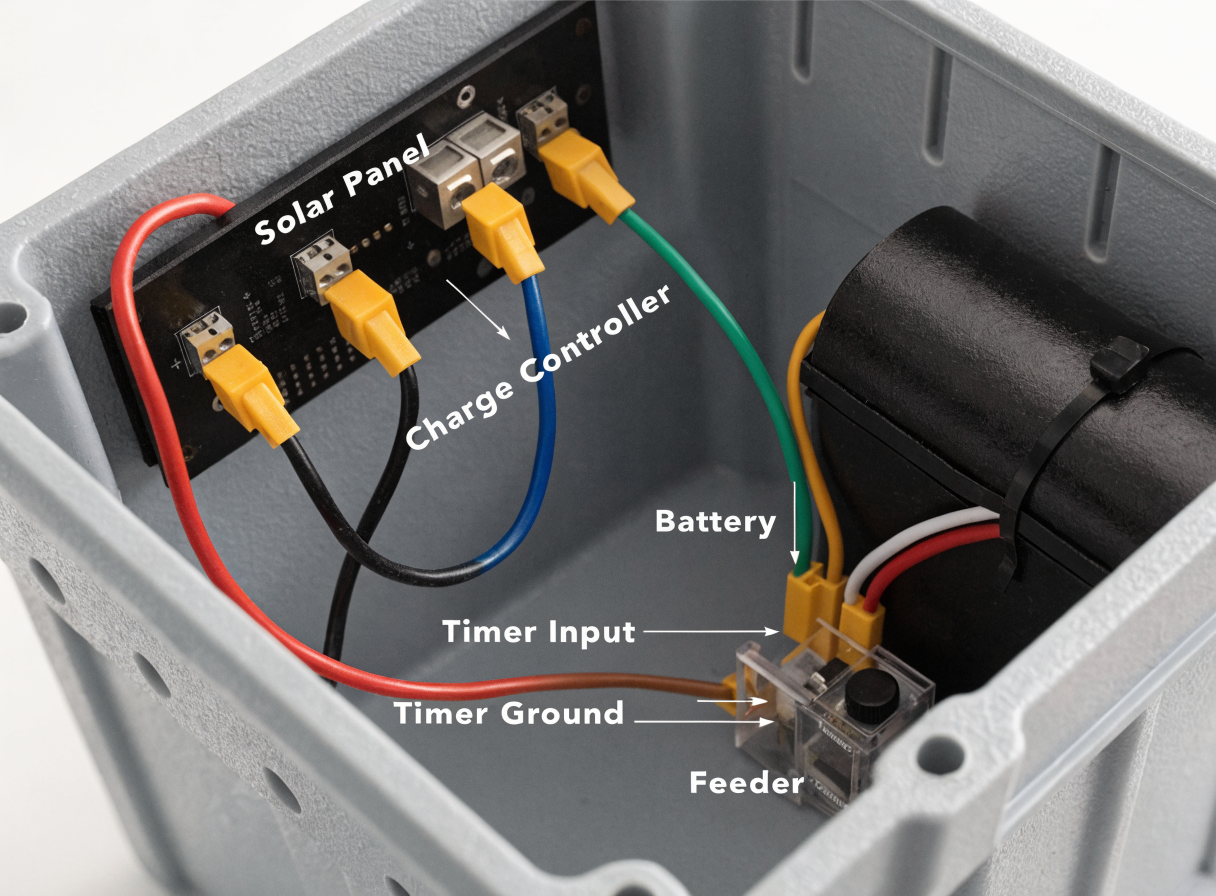
The complete circuit follows a simple path: solar panel → charge controller (PV terminals) → battery (BAT terminals) → charge controller load output → timer relay → feeder motor. Keep all wire runs as short as practical and route them away from sharp edges and pecking range of the birds.
Use 18-gauge wire for the main battery runs and 22-gauge for the low-current timer signal wires if you have a relay module. Clip all exterior cable runs to the coop siding every 12 inches using UV-resistant saddle clips — unsupported wire flaps in wind and fatigues at connection points within months.
Once everything is connected, use a multimeter to verify voltage at the feeder motor terminals when the timer triggers. It should read within 0.5V of your battery voltage. A significant drop indicates a loose connection or undersized wire somewhere in the run.
Step 6: Test and calibrate the feed schedule
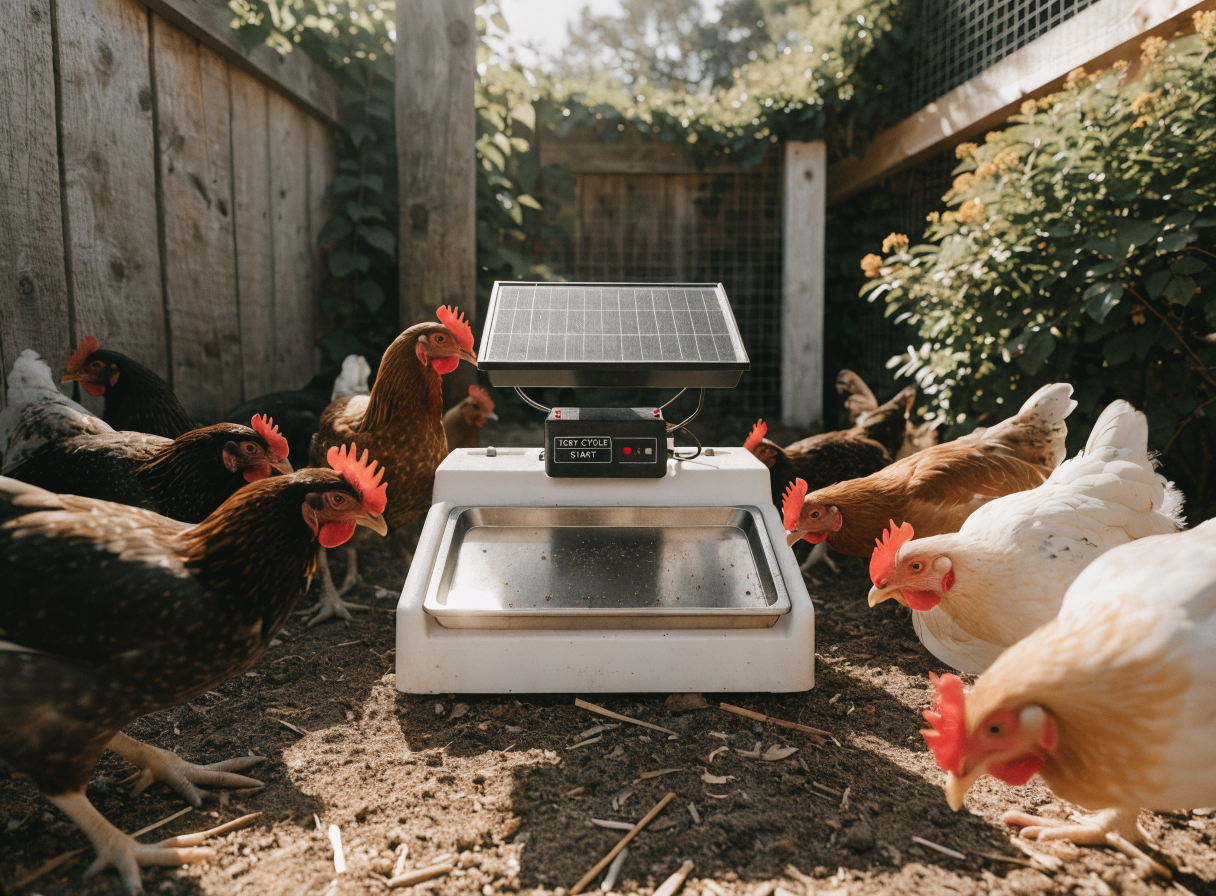
Trigger a manual test cycle before committing to the automated schedule. Measure how much feed is dispensed in a 5-second run and weigh it. Experts recommend approximately 4 ounces of layer pellets per hen per day split across two feedings. Adjust run time up or down by 2-second increments until your output matches your flock size.
Run the system for a full 24-hour test while monitoring battery voltage morning and evening. After a sunny day, the battery should read 12.6V or higher before the evening feed cycle. If voltage is sagging below 12.2V by morning, either your panel is undersized or your feed cycles are running too long.
Watch the flock for the first week. Chickens are creatures of habit and will learn the feed schedule within two to three days. Once they gather at the tray in anticipation, the system is calibrated correctly.
Pro Tips
- Add a low-voltage cutoff. Some charge controllers include a load disconnect feature that shuts off power to the timer if the battery drops below 11.5V. Enable it to prevent deep discharge during extended cloudy periods.
- Use a metal tray, not plastic. Chickens are hard on equipment. A galvanized steel feed tray lasts years where plastic cracks within months in UV exposure.
- Label every wire. A small piece of tape with a marker notation saves significant troubleshooting time six months from now.
- Check the auger monthly. Wet feed can compact around the auger shaft. A quick inspection and clearing takes two minutes and prevents motor burnout.
- Orient your panel slightly west of due south. Independent solar studies show this captures more afternoon energy in summer when days are longest, improving battery top-off heading into the evening feed cycle.
Why This Is Worth It
Analysis of backyard poultry keeping costs consistently shows that feed waste is the largest controllable expense — often 20–35% of total feed purchased is lost to spoilage, weather, and scatter. An automated timed system eliminates the scatter problem entirely and keeps feed dry inside the container until the moment it is dispensed. Over a year with six hens, that saving can easily reach $80–$120 depending on feed prices in your area.
Beyond the economics, there is a self-reliance argument worth making. A solar-powered system has no utility bill, no subscription, and no dependency on grid reliability. When the power goes out — and it does — your chickens eat on schedule anyway. That kind of infrastructure resilience is exactly what backyard homesteading is supposed to deliver, and a $120 weekend project is one of the most direct paths to it.
Frequently Asked Questions
How much does it cost to build a solar-powered automatic chicken feeder? Most builders report spending between $80 and $150 total depending on whether they repurpose a feeder container or buy new. The solar panel and battery represent the largest portion of the cost and are reusable for future projects.
Will the solar panel keep the battery charged year-round? A 10W panel in most U.S. climates generates sufficient charge for a low-draw timer motor even in winter, provided the panel is clear of snow and positioned at the correct angle. Adding a second 10W panel in parallel is an inexpensive insurance policy for northern regions with short winter days.
Is it safe to run electronics in a chicken coop environment? Yes, provided all connections are housed in an IP65-rated enclosure and kept out of reach of the birds. Low-voltage DC systems (12V) carry no meaningful shock risk to humans or animals, and sealed components handle humidity well. Avoid AC adapters or AC-powered timers inside the coop.
Final Thoughts
A solar-powered automatic chicken feeder is one of those projects that pays for itself in time, feed savings, and peace of mind within a single season. If you build one this weekend, drop a comment below with your flock size and how you mounted your panel — we read every response and it helps other readers make informed decisions for their own setups. For your next coop upgrade, check out our guides on rainwater collection for livestock and low-cost predator-proofing that does not require a permit.