
Start a Backyard Beekeeping Setup for Under $50
Disclosure: This post contains affiliate links. If you click and purchase, we may earn a small commission at no extra cost to you. We analyzed independent reports and expert recommendations — we do not personally test every product.
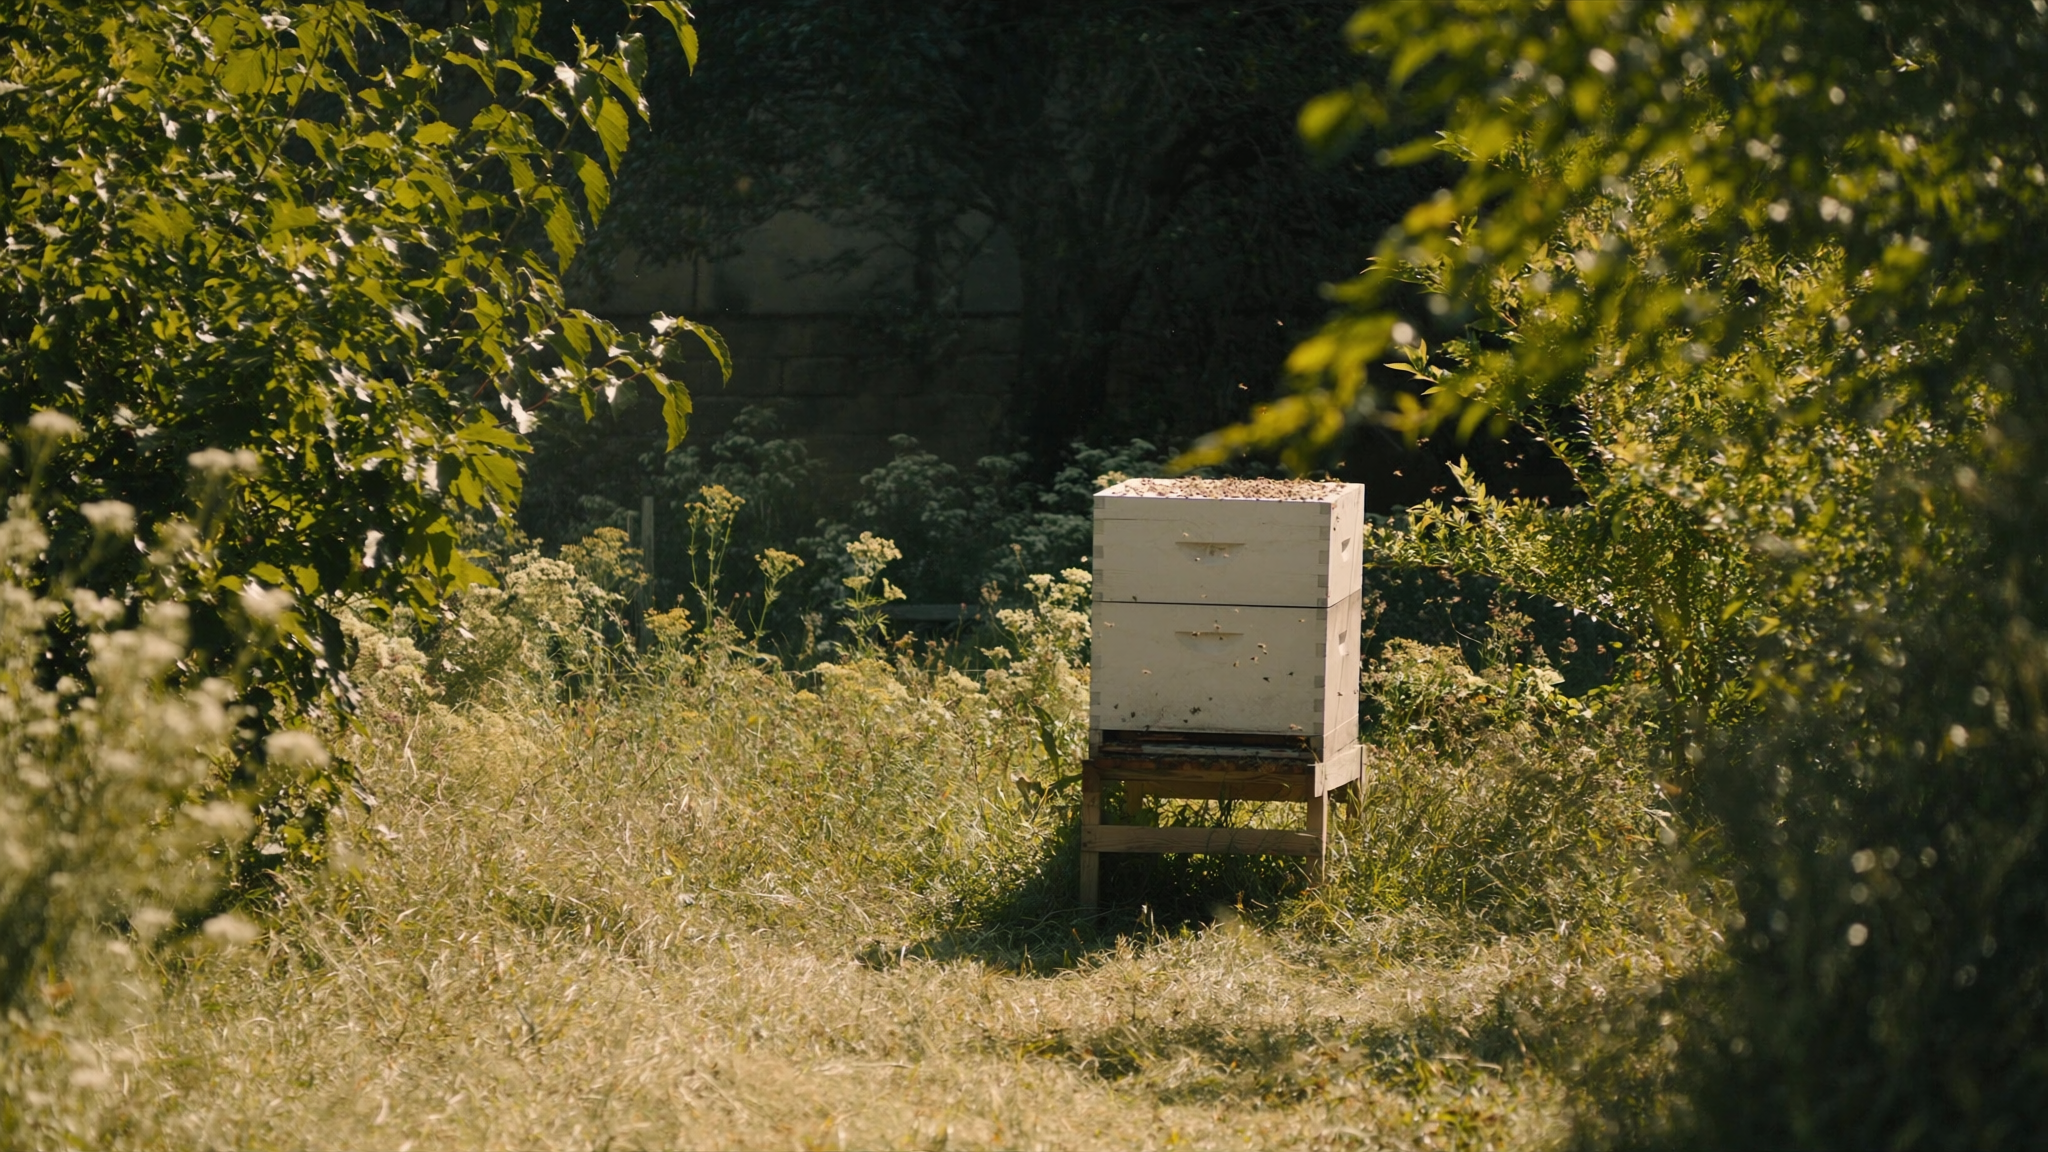
Backyard beekeeping is one of the most rewarding homesteading skills you can add — and most people assume it costs hundreds of dollars to get started. That assumption is wrong. With some creative sourcing, secondhand gear, and a focused shopping list, independent reports from beginner beekeeping communities consistently show that a functional first-year setup is achievable for under $50. You will not have a Pinterest-perfect apiary, but you will have living, productive bees and the skills to grow from there.
The benefits go far beyond honey. Experts in sustainable homesteading point out that a single productive hive can dramatically increase garden yields through improved pollination, reduce your grocery spending on produce over time, and give you access to beeswax for candles, lip balm, and wood treatments. For the self-reliance-minded backyard grower, bees are a force multiplier for every other project on your property.
We analyzed beginner beekeeping guides, extension service publications, and community forums across the U.S. to put together this practical budget breakdown. The approach here prioritizes what actually matters for colony survival in year one — not what looks impressive on social media. If you have been waiting until you could afford a "complete" setup, stop waiting. Here is how to start backyard beekeeping for under $50 and build from there.
What You'll Need
Getting started does not require buying everything new. Here is the core list, with notes on where to save and where it is worth spending a little:
- Hive body — A used Langstroth hive from a local beekeeping club, Craigslist, or Facebook Marketplace often runs $0–$20. Inspect for rot and signs of American Foulbrood (black, ropy scales in cells) before accepting any used equipment.
- Frames and foundation — Often included with a used hive. If not, bare wooden frames run about $1–$2 each; you need 8–10 for a single deep body.
- Protective gear — A beekeeper veil and gloves is the single most important purchase. Budget veil-and-gloves combos reviewed by beginner communities run $15–$25 and are sufficient for light inspections.
- Hive tool — A hive tool J-hook is essential for prying apart propolis-sealed frames. These run $5–$8 new and last years.
- Smoker — A bee smoker for hive inspection calms bees during inspections by masking alarm pheromones. Small beginner models cost $15–$20.
- Bees — Free or very low cost when sourced correctly (see Step 4).
- Optional complete kit — If you would rather start fresh than source secondhand, a beginner beekeeping starter kit bundles a hive, frames, and basic tools and can be found in the $60–$80 range — slightly over budget but an option if used equipment is unavailable in your area.
Step-by-Step Guide
Step 1: Check Local Regulations
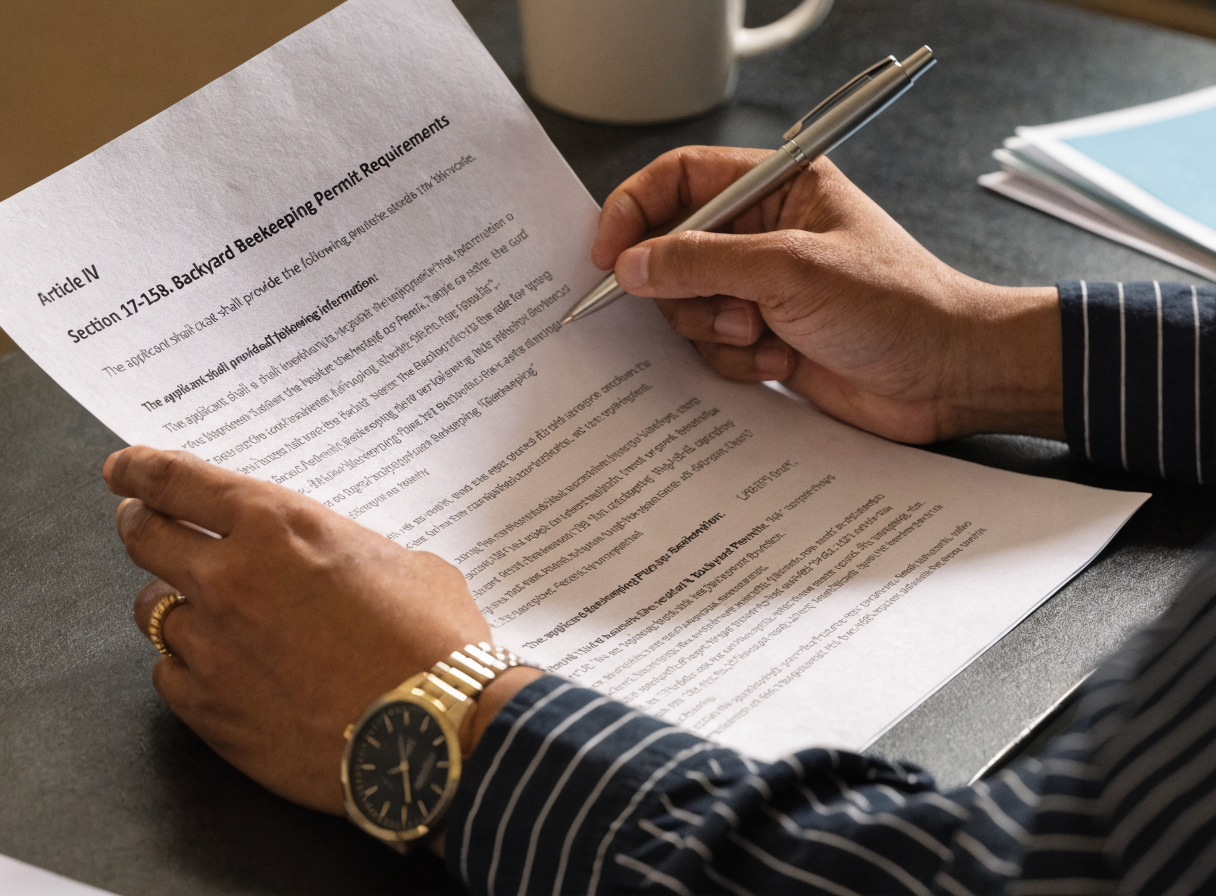
Before spending a dollar, verify that beekeeping is legal in your municipality. Many urban and suburban areas allow it with restrictions — minimum lot size, maximum number of hives, required setbacks from property lines, and water source requirements are the most common. Extension service publications note that the majority of U.S. cities have updated their ordinances in the past decade to permit small-scale beekeeping, so do not assume it is banned without checking.
Contact your county extension office or search "[your city] beekeeping ordinance" to find the specific rules. Some areas require registration with the state department of agriculture, which is free or low cost. Skipping this step is the most common mistake new beekeepers make — discovering a violation after you have bees is far more stressful than a 30-minute research session upfront.
If neighbors are a concern, experts recommend a brief conversation before you start. Most objections dissolve when people learn that a properly managed hive with a nearby water source rarely sends forager bees toward porches or pools.
Step 2: Set Up Your Hive Location
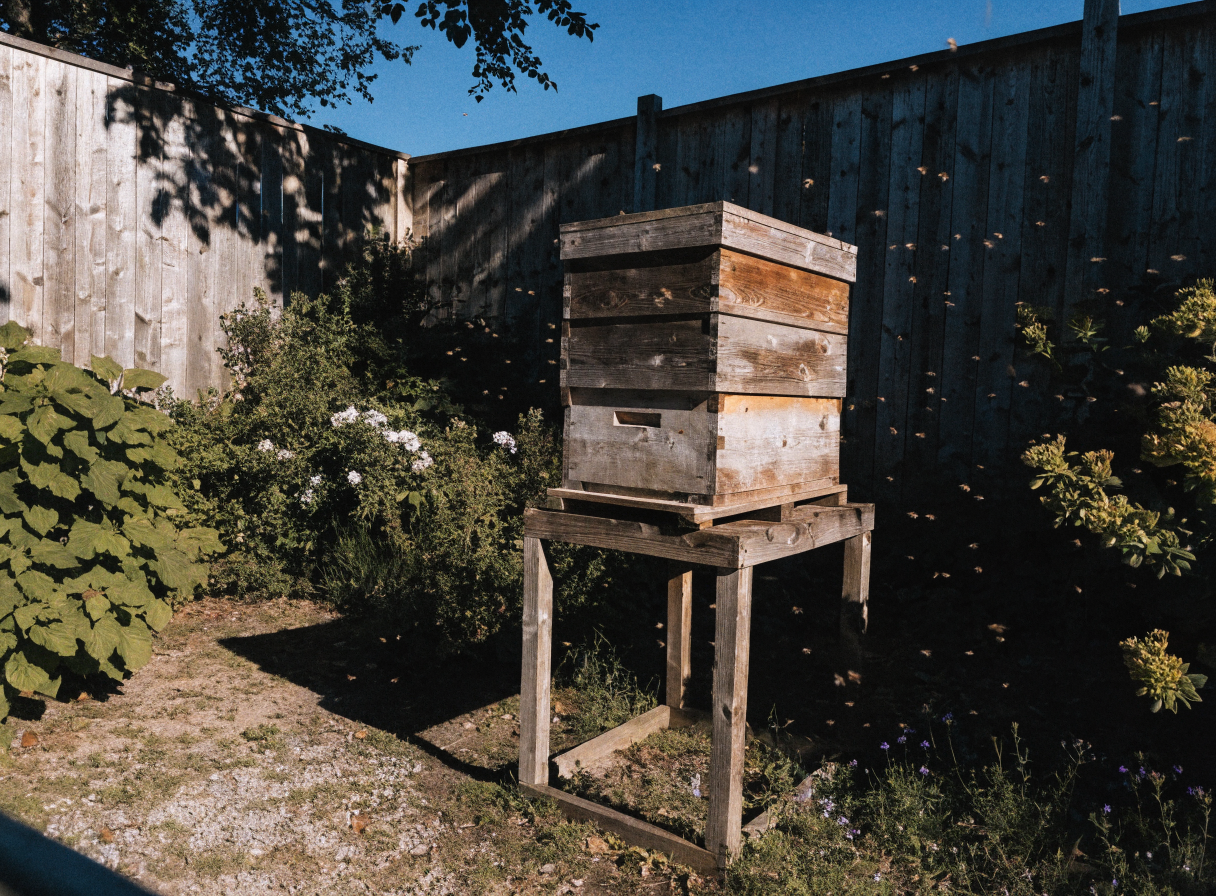
Hive placement has a direct impact on colony health and your ability to work the hive safely. Independent reports from state apiarist offices consistently identify three non-negotiables: morning sun, afternoon shade in hot climates, and protection from prevailing winds. Morning sun encourages early foraging, which increases honey production and hive efficiency.
Position the hive entrance facing southeast if possible, on a stand at least 18 inches off the ground to reduce skunk predation (skunks scratch at the entrance to draw out guard bees, then eat them). A simple stand built from scrap lumber or cinder blocks costs nothing.
Ensure there is a water source within 50 feet of the hive — a shallow dish with pebbles or corks for bees to land on works well. Without a dedicated water source, bees will find your neighbor's pool or birdbath. A hive in full afternoon summer sun in the South or Southwest may also benefit from a shade cloth or tree canopy — heat stress during a nectar dearth can push a colony to abscond.
Step 3: Get Basic Protective Gear
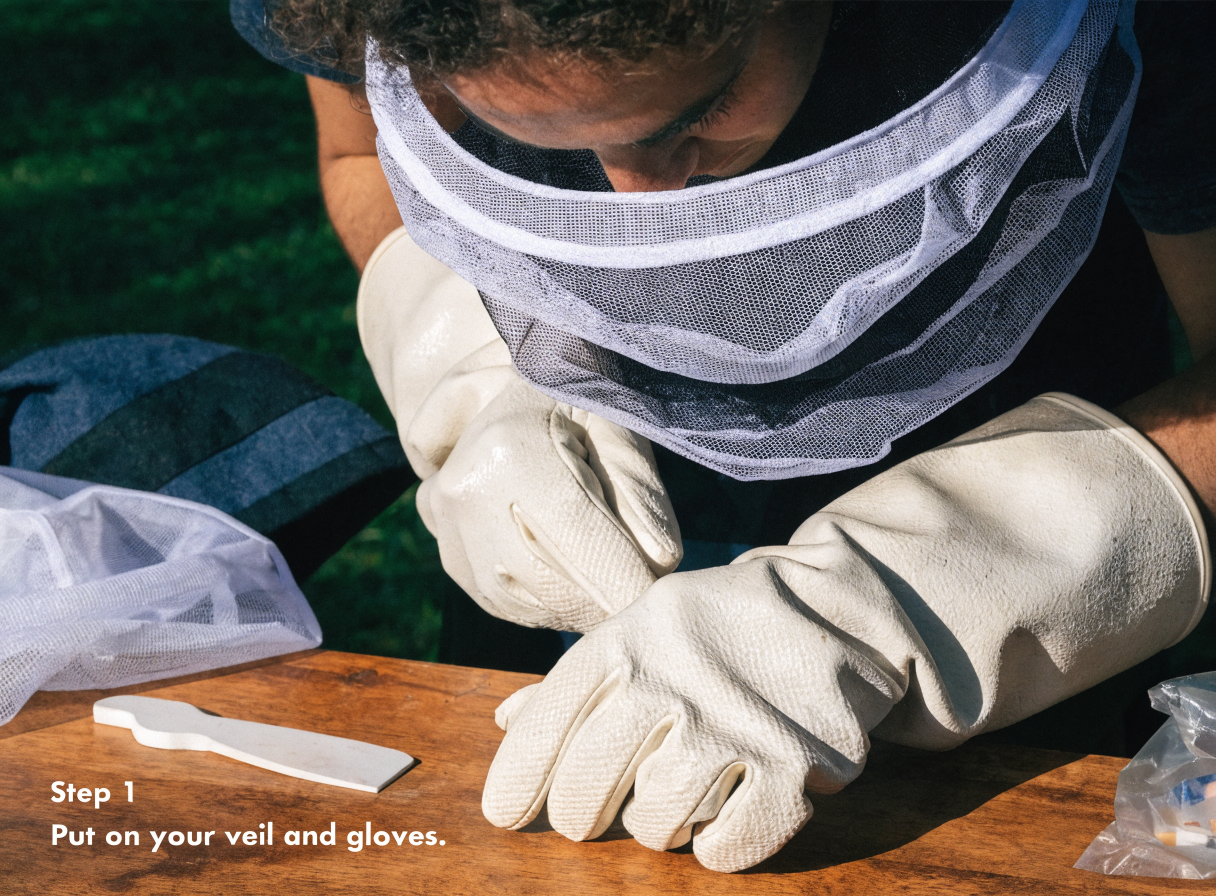
You do not need a full bee suit to work a calm colony, but a beekeeper veil and gloves is non-negotiable. Stings to the face and hands are the most common deterrents that cause new beekeepers to quit in the first season. A veil-and-glove combination eliminates most of that risk.
Wear light-colored, smooth-fabric clothing — bees are naturally defensive toward dark colors and textures that resemble animal predators. A white or tan long-sleeve shirt and light pants tucked into socks give adequate coverage for inspections of a calm, established colony. Avoid wearing floral perfume or banana-scented products, which mimic alarm pheromones.
A bee smoker for hive inspection dramatically reduces defensive behavior during inspections. Fuel it with dry burlap, pine needles, or wood shavings — all free materials. Two to three puffs at the entrance and under the cover before opening is standard practice according to extension service beekeeping guides.
Step 4: Source Your Bees Affordably
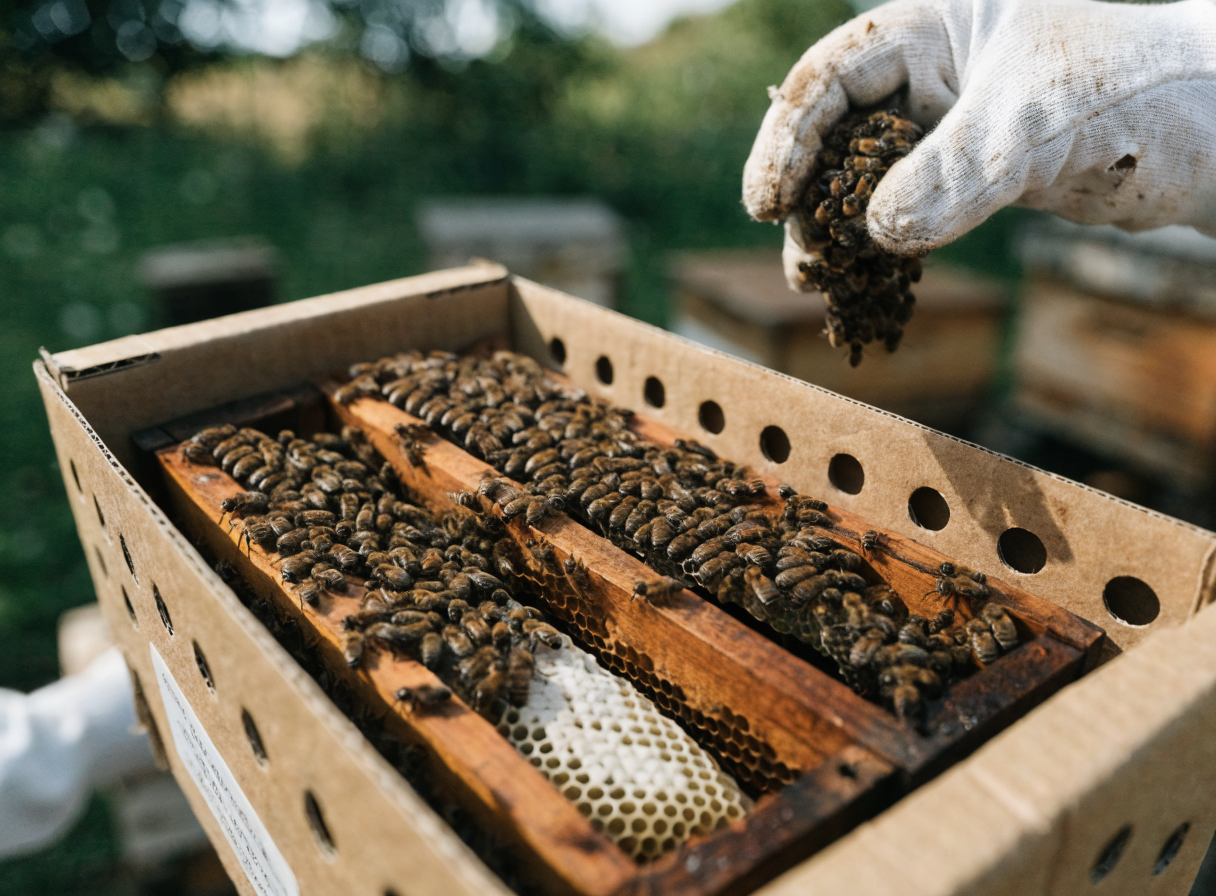
Bees are the part of this budget that most beginners overpay for. A 3-pound package of bees from a commercial supplier runs $30–$50 on its own, which blows the budget if you have already spent money on equipment. There are better options.
Contact your local or state beekeeping association and ask about swarm lists. Swarms — the natural reproductive event where half a colony leaves with the queen to find a new home — are free, healthy, and highly motivated to build comb. Many established beekeepers list themselves as swarm catchers and will share a swarm with someone willing to provide a hive body. This is the single most effective way to get bees for free.
Nucleus colonies (nucs) from local beekeepers are another strong option. A nuc is five frames of established bees, brood, and a laying queen — a head start over a package. Local nucs are often better adapted to your regional climate and forage than bees shipped from out of state. Prices vary, but local beekeeping clubs often coordinate group buys that bring costs down.
Step 5: Install the Bees in Your Hive
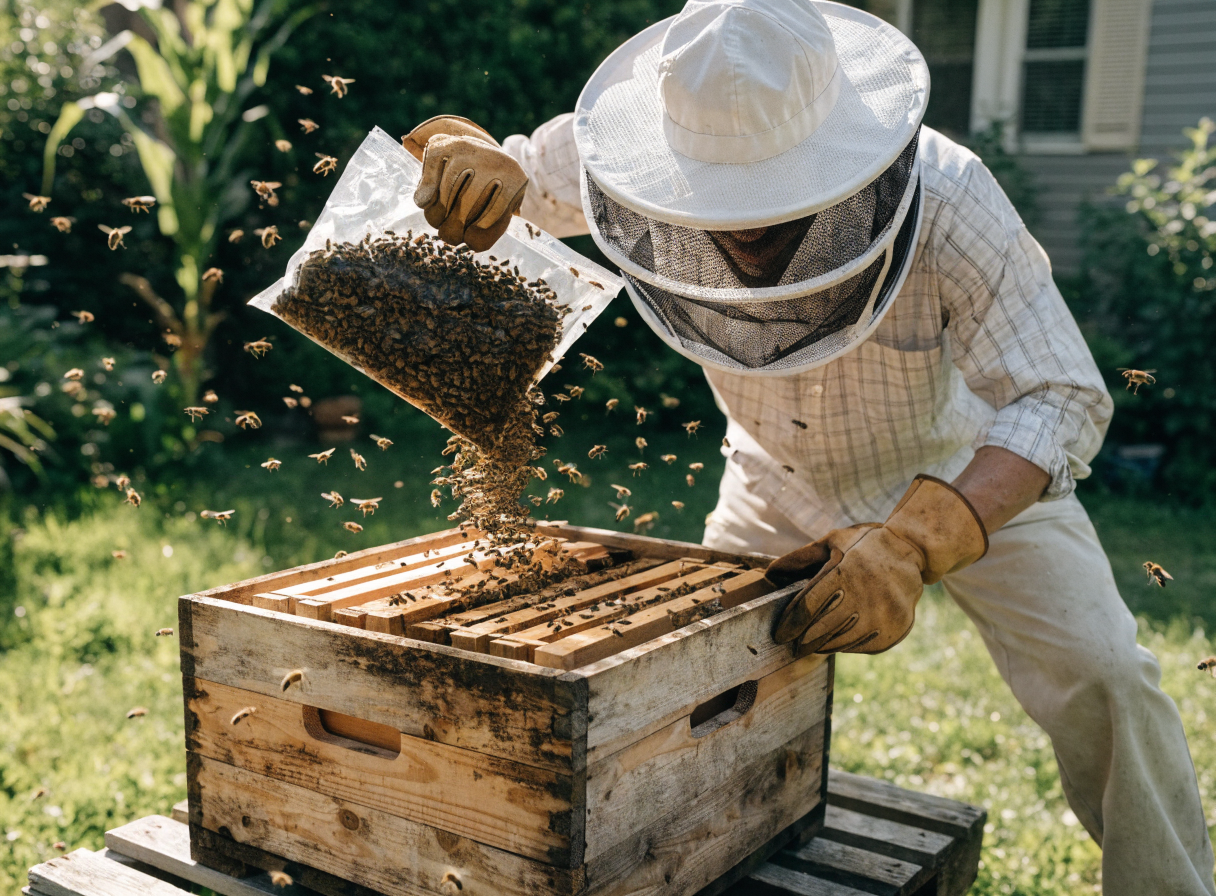
Package installation involves shaking roughly 10,000 bees into your hive body, suspending the queen cage between two frames, and letting the colony release her over 2–3 days. State extension guides recommend removing the cork from the candy-plug end of the queen cage only — bees chew through the candy to release her gradually, allowing the colony to accept her pheromone signature before she is fully mobile.
Nuc installation is simpler: transfer frames directly from the nuc box into your hive body in the same order they came, then fill remaining space with empty frames. Minimize disruption — a quick transfer on a warm, calm day gives the colony the best start.
After installation, do not inspect for at least 5–7 days. The colony needs time to draw comb, and early disturbance can cause the queen to be balled by stressed workers. Your first inspection should simply confirm the queen is laying — look for eggs standing upright in the bottom of cells, visible with a handheld loupe or reading glasses in bright light.
Step 6: Manage Your First Season
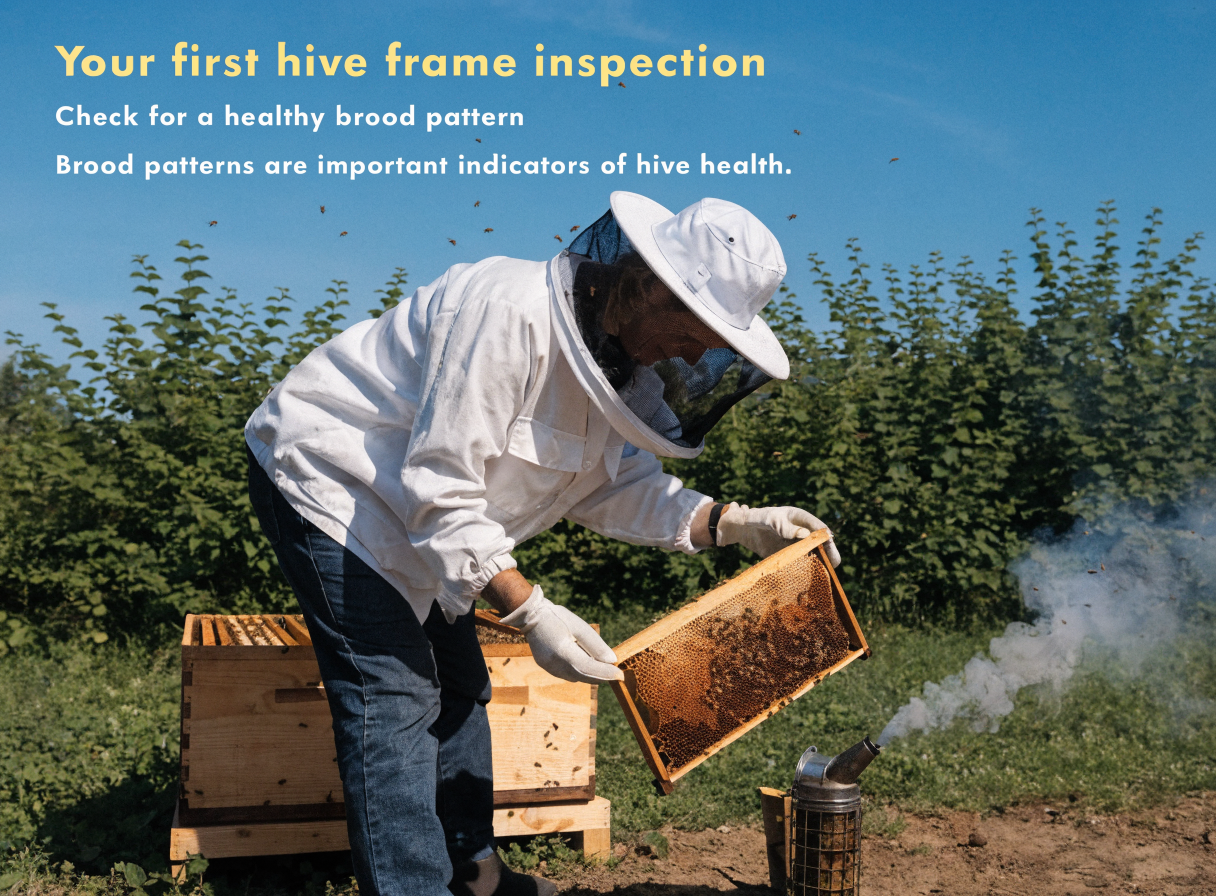
First-year colony management has one primary goal: build a strong, healthy colony heading into winter. Do not expect to harvest honey in year one — experts recommend leaving all honey stores for the bees their first year, as the colony needs those reserves to survive winter and thrive the following spring.
Inspect every 10–14 days during spring and summer. Each inspection should answer three questions: Is the queen laying in a solid pattern? Is there adequate space for the colony to expand? Are there signs of disease or pests (specifically Varroa mites)? Varroa management is the leading cause of first-year colony loss. Conduct an alcohol wash or sugar roll mite count monthly and treat when counts exceed 2 mites per 100 bees — treatment options include oxalic acid vaporization, which is low cost and highly effective.
Going into fall, ensure the colony has at least 60–80 pounds of honey stores (roughly two full deep supers) and a solid laying queen. Reduce the entrance to a 4-inch opening to prevent robbing and drafts. In cold climates, a mouse guard and top ventilation will carry most colonies through to spring.
Pro Tips
- Join your local beekeeping club before you start. Most clubs offer mentorship programs that pair new beekeepers with experienced ones — free advice, equipment loans, and swarm leads are common member benefits.
- Buy a hive tool J-hook before you think you need one. You cannot inspect propolis-sealed frames bare-handed without damaging comb and crushing bees.
- Paint or seal any new or secondhand wooden equipment. Exterior latex on all surfaces except the interior comb area extends hive life by years. Scrap paint works fine.
- Keep a hive journal from day one. Note inspection dates, queen status, mite counts, and feeding. A simple notebook is sufficient. This data is invaluable if problems develop and you need advice from a mentor or extension agent.
- Plant forage near the hive. Borage, phacelia, lavender, and clover are high-value bee plants that cost almost nothing from seed. A diverse forage base within foraging range (up to 2 miles) directly supports colony health and honey production.
Why This Is Worth It
The financial case for beekeeping compounds quickly. A productive established hive can yield 30–60 pounds of honey per year in its second and third seasons — at $10–$15 per pound for raw local honey, that is $300–$900 in value annually from a setup that cost under $50 to start. Beeswax from hive cappings adds further value for candle-making, wood finishing, and skin care applications.
Beyond economics, we analyzed multiple sustainability frameworks and homesteading case studies that consistently identify bees as a keystone element in a resilient backyard food system. A single hive increases the productivity of every flowering vegetable, fruit tree, and berry bush on your property. The skill itself — understanding colony dynamics, seasonal rhythms, and integrated pest management — is a foundational literacy for serious self-reliance that no supply chain disruption can take away.
Frequently Asked Questions
Is backyard beekeeping legal in most U.S. cities? Yes, the majority of U.S. municipalities now permit backyard beekeeping with conditions. Common requirements include minimum lot size (often 5,000–7,000 sq ft), a water source, and setbacks from property lines. Check your local ordinance before purchasing equipment.
How much time does a beehive require each week? During active season (spring through early fall), plan on 30–60 minutes every 10–14 days for inspections. Outside of active season, a healthy hive requires very little intervention. Total annual time commitment for one hive is typically 15–25 hours.
Can I keep bees if I have neighbors close by? Yes, with thoughtful management. Position the hive so the entrance faces away from shared property lines, provide a dedicated water source, and maintain calm, well-mated queens. Expert guidance from state apiarist programs consistently notes that defensive behavior is strongly correlated with queen genetics — a docile Italian or Carniolan queen makes close-quarter beekeeping very manageable.
Final Thoughts
Starting backyard beekeeping for under $50 is not a compromise — it is a smart way to learn the fundamentals before investing in a larger operation. The skills, the hive, and the colony you build this season will be worth multiples of your initial investment within a year or two. Have questions about your first inspection or sourcing bees locally? Drop them in the comments — and check out our related posts on building a productive backyard food system on a tight budget.